


Getting Started with a DIY Brewing Kit
I’ve Just Got my Kit - Now What?
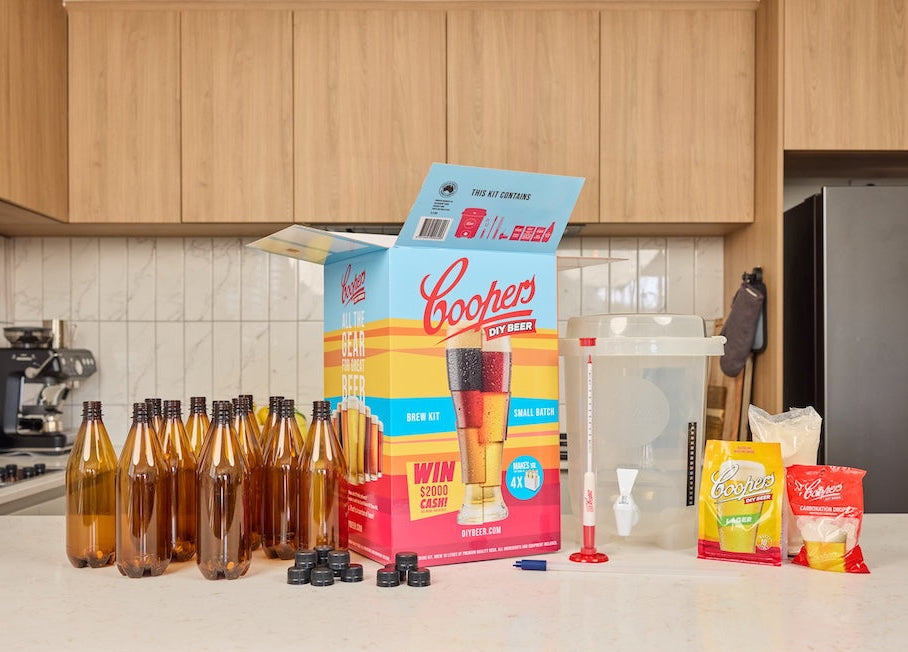
Congratulations - you’re on your way to brewing your first batch. Your Coopers DIY kit has everything you need to go from box to bottle, and the process is easier than you might think. Open it up, give everything a quick check against the list below, and you’ll be brewing in no time.
Here’s what you’ll find in your DIY brew kit, and what each piece does
Got everything? Great. Hang on to the fermenter, hydrometer and bottles - they’re reusable, so every brew after this one only needs a fresh ingredients - extract, brew enhancer and yeast.
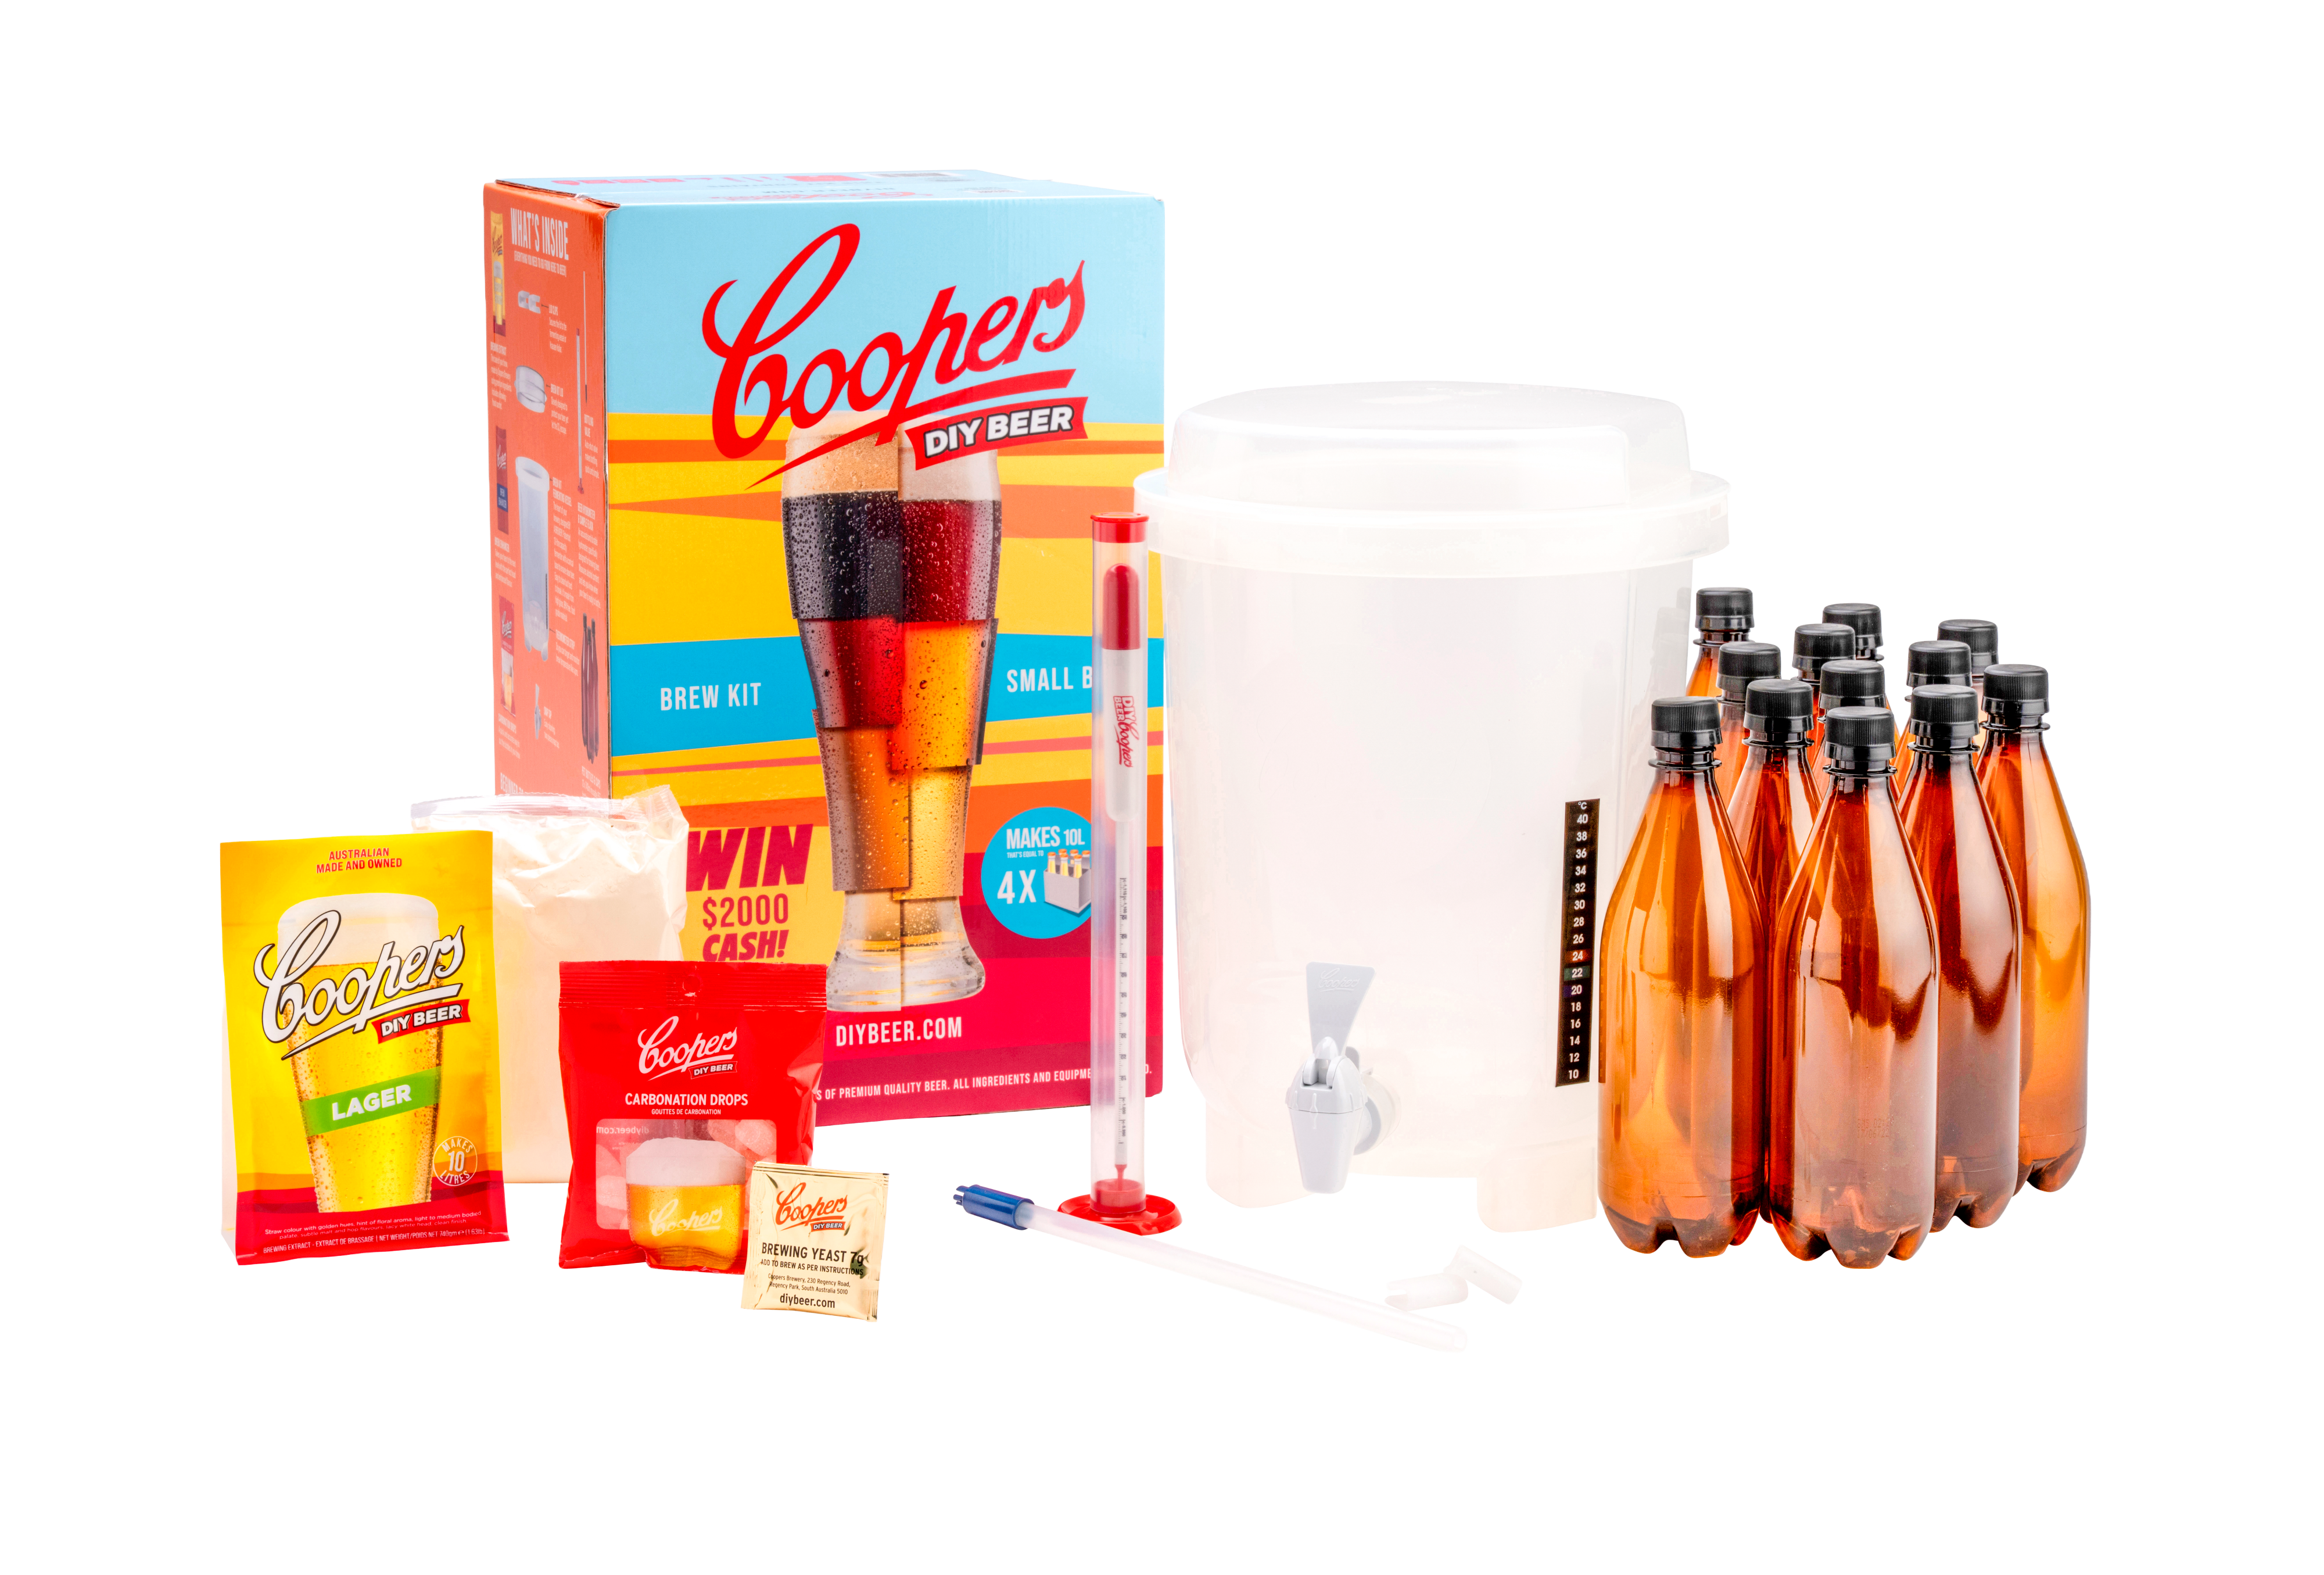
Fermenting vessel & lid
The food-grade container where your beer ferments. This is the heart of your kit.
Brewing extract and Yeast
Brewing Extract - Your first can of malt and hops, pre-combined and ready to brew. This is what becomes your beer.
Yeast - the living ingredient that ferments your brew, usually tucked under the lid of your extract can or attached to the back of the pack.
Brew enhancer
A blend of fermentable sugars that gives your beer better body, head retention and a cleaner finish.
Hydrometer
A simple tool that tells you when fermentation is finished and how strong your beer is.
Bottles & caps
For storing and naturally carbonating your finished beer.
Your First Brew, Step by Step
Brewing your first batch comes down to four simple steps - Mix, Brew, Bottle, Enjoy. Here’s how it works
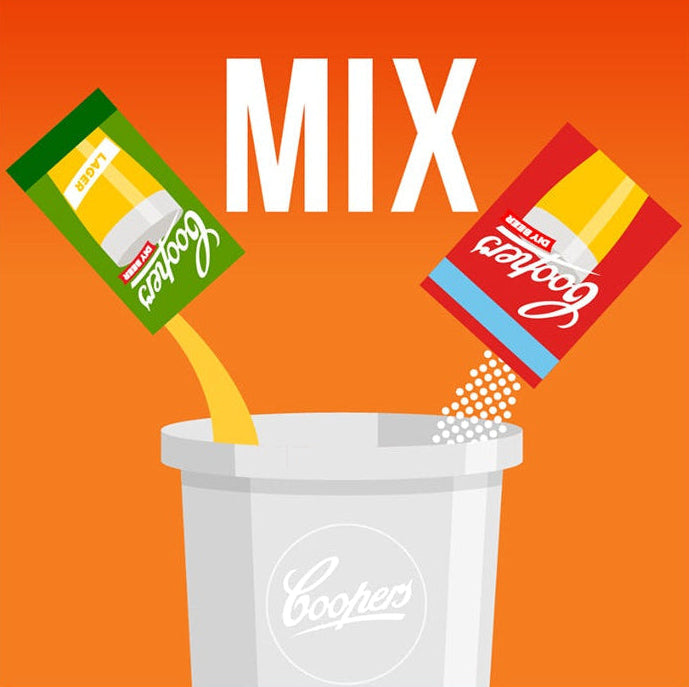
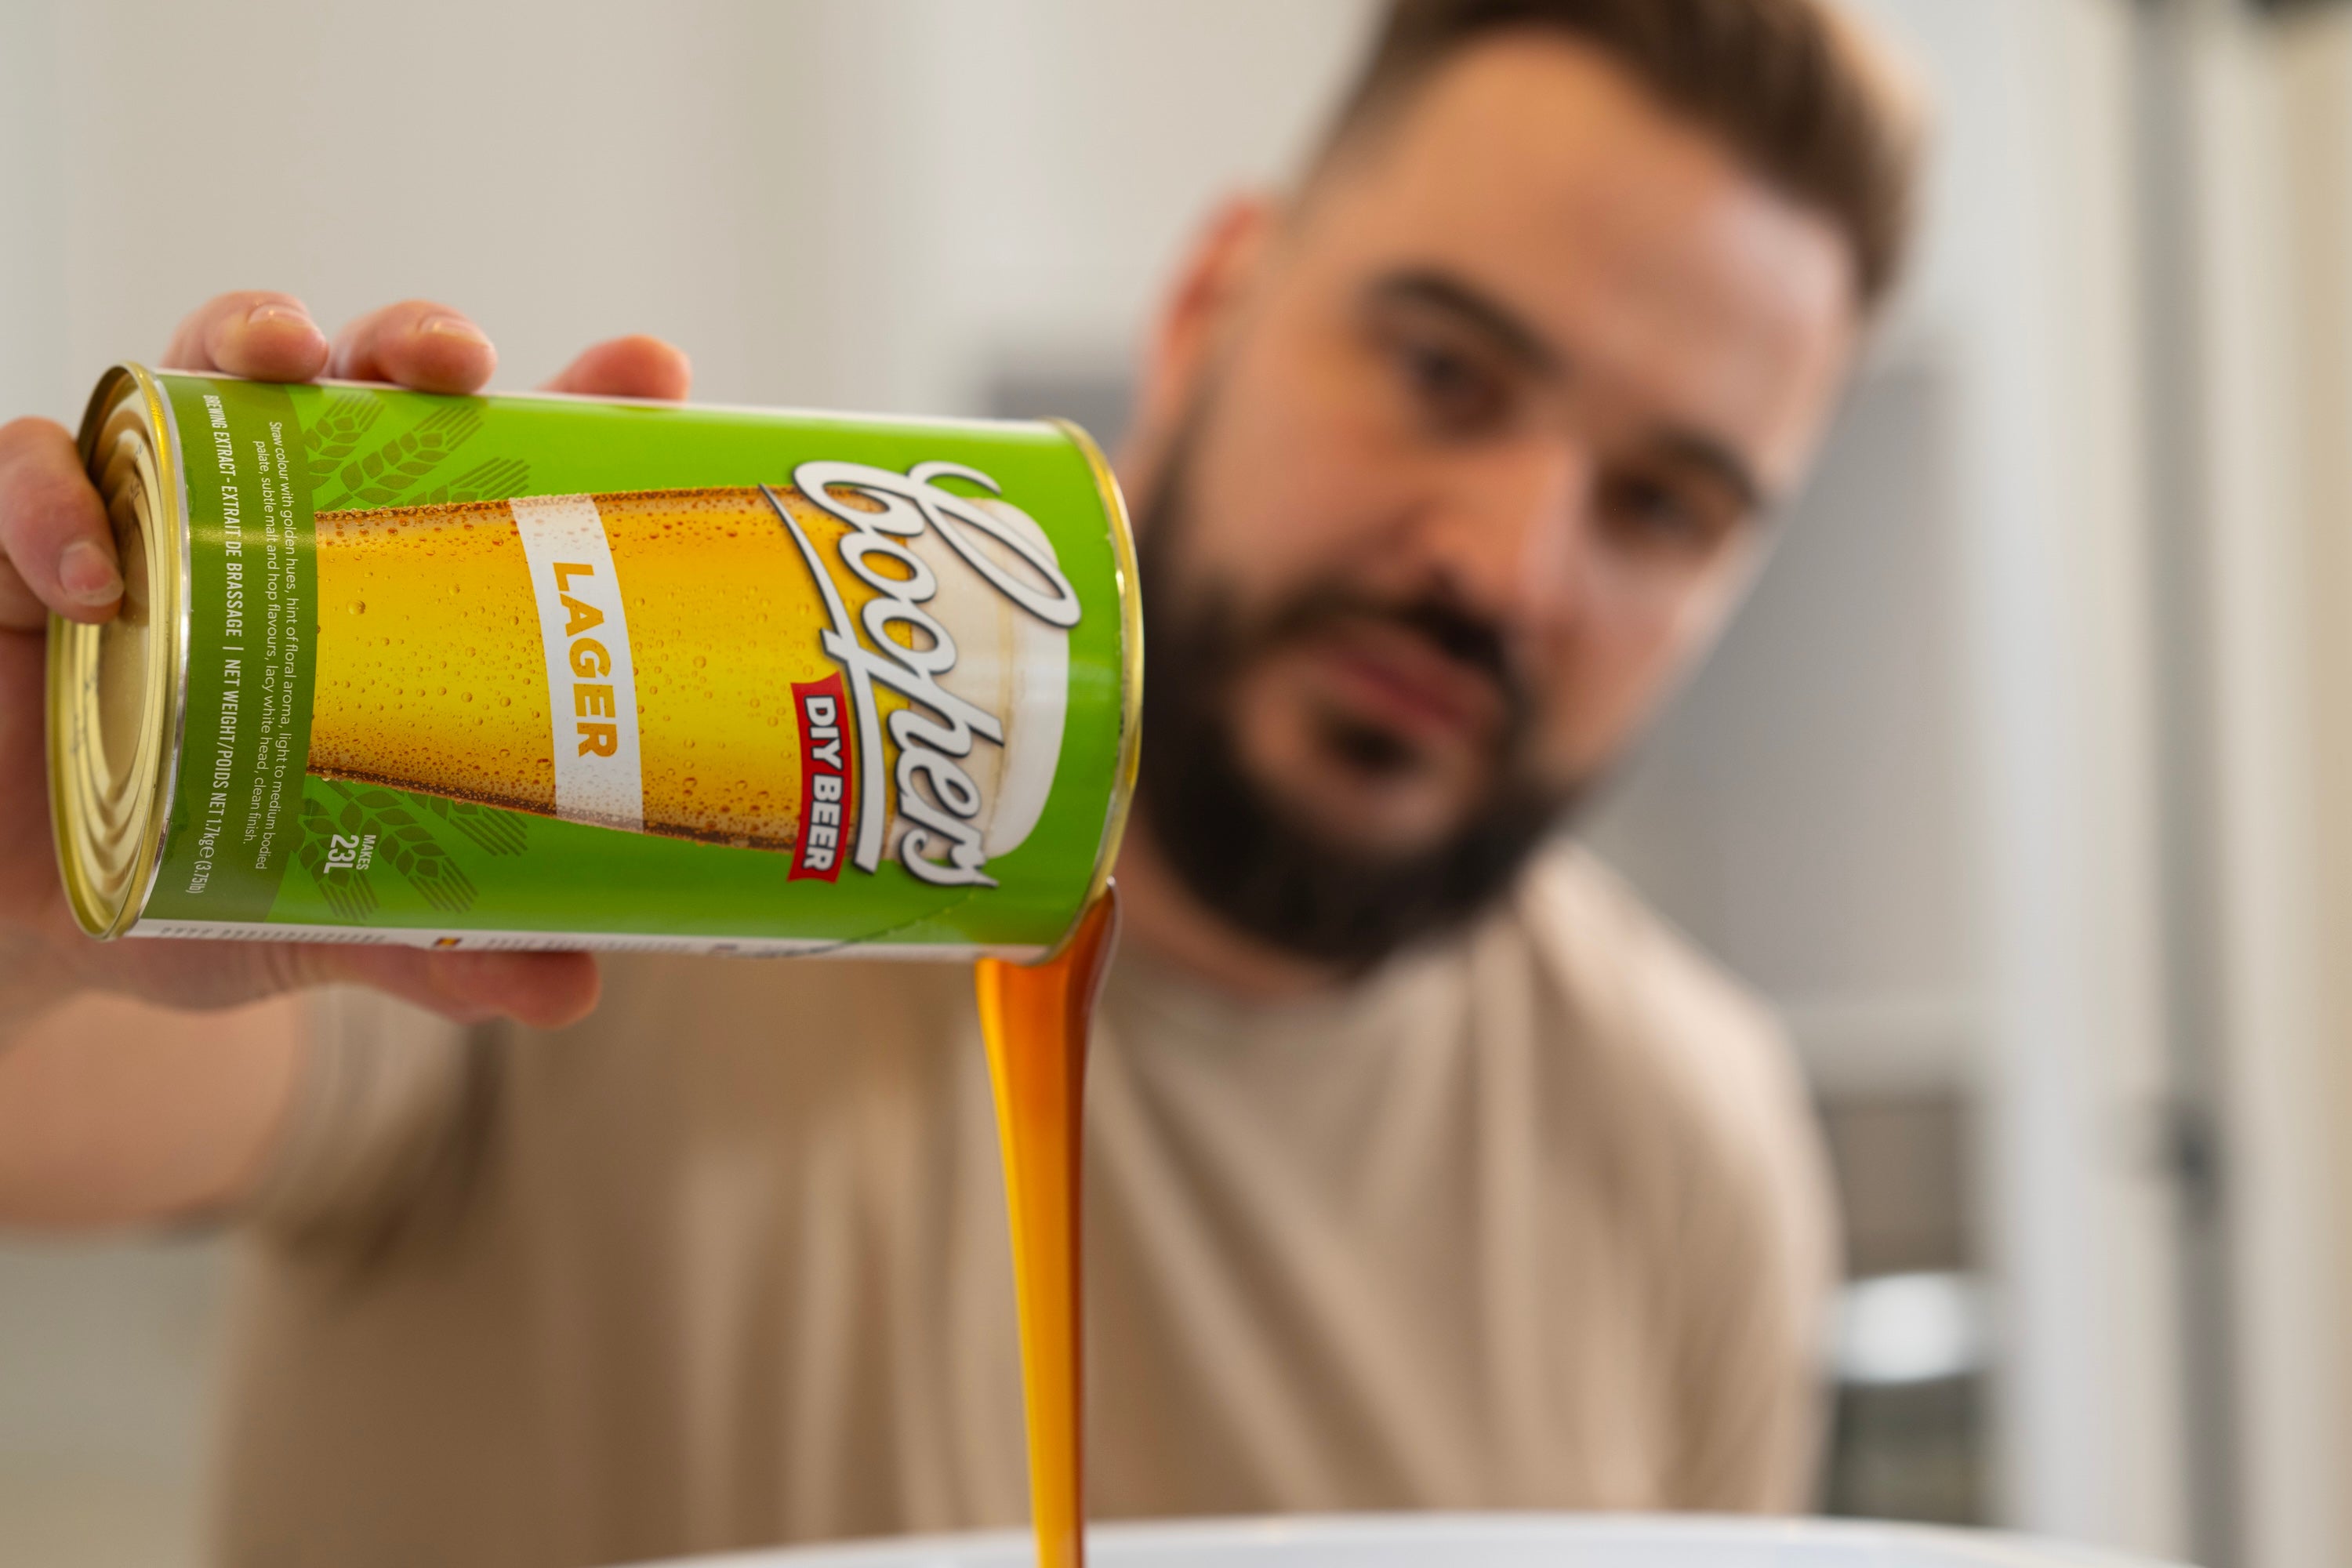
Step 1: Mix
When using your fermenter for the first time, simply rinse with warm water, then add your brewing extract, brew enhancer and 2L of warm water and stir until. Top up with warm or cool water to reach the recommended brew volume, targeting the lower end of 21 to 27 degrees celsius. This takes about 15 minutes.
Tips for better brews: Make sure the water you are using is good for drinking, if your tap water contains a lot of chlorine, it’s best to use filtered water.
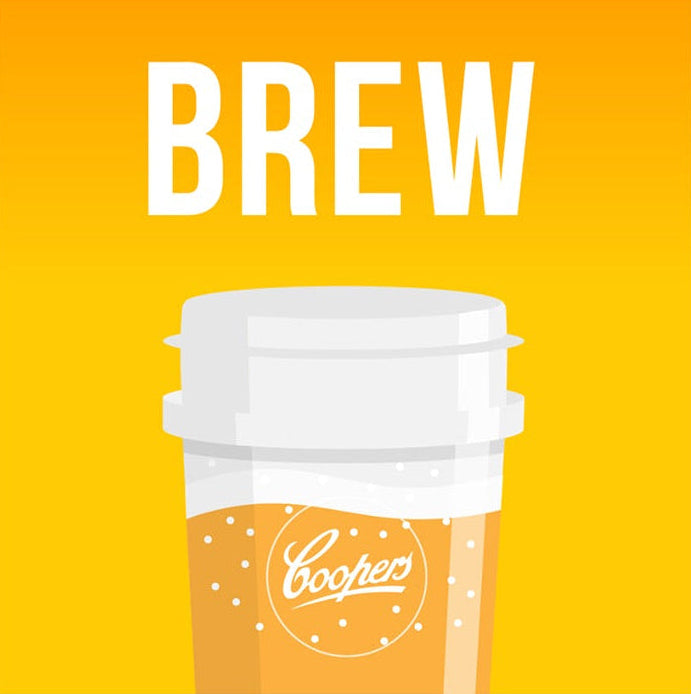
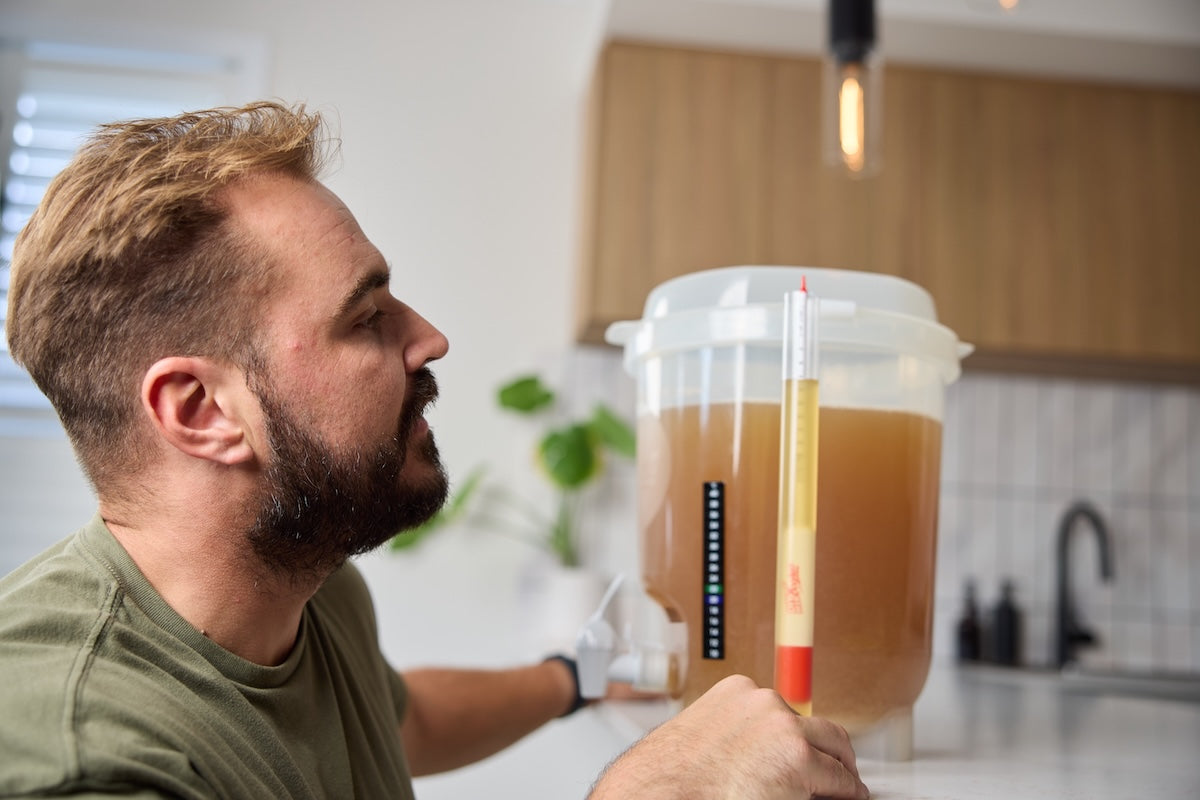
Step 2: Brew (Ferment)
Immediately after filling, sprinkle in your yeast and put the lid on. Store your fermenter somewhere with a steady temperature and let the yeast do the work. Over about a week, fermentation turns the sugars into alcohol. A consistent hydrometer reading over 2 days tells you when it’s done and ready for bottling. Sample your brew, to check it smells and tastes ok, if it does, you’re good to bottle!
Tips for better brews: Try to keep your brew in the lower end of 21°C and 27°C and keep the lid closed while it ferments.
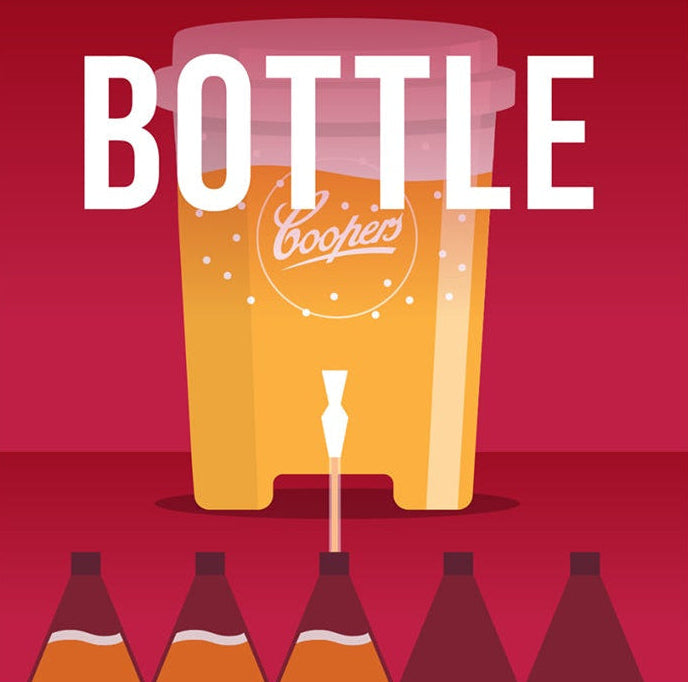
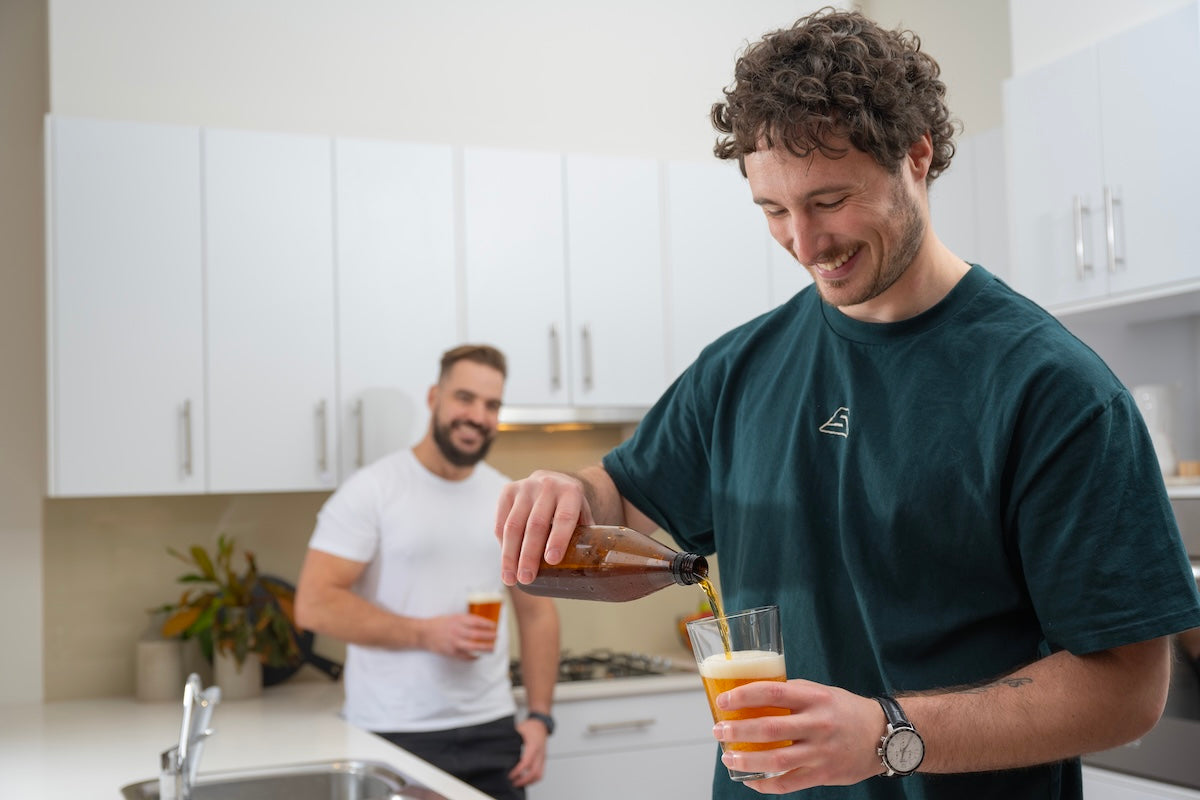
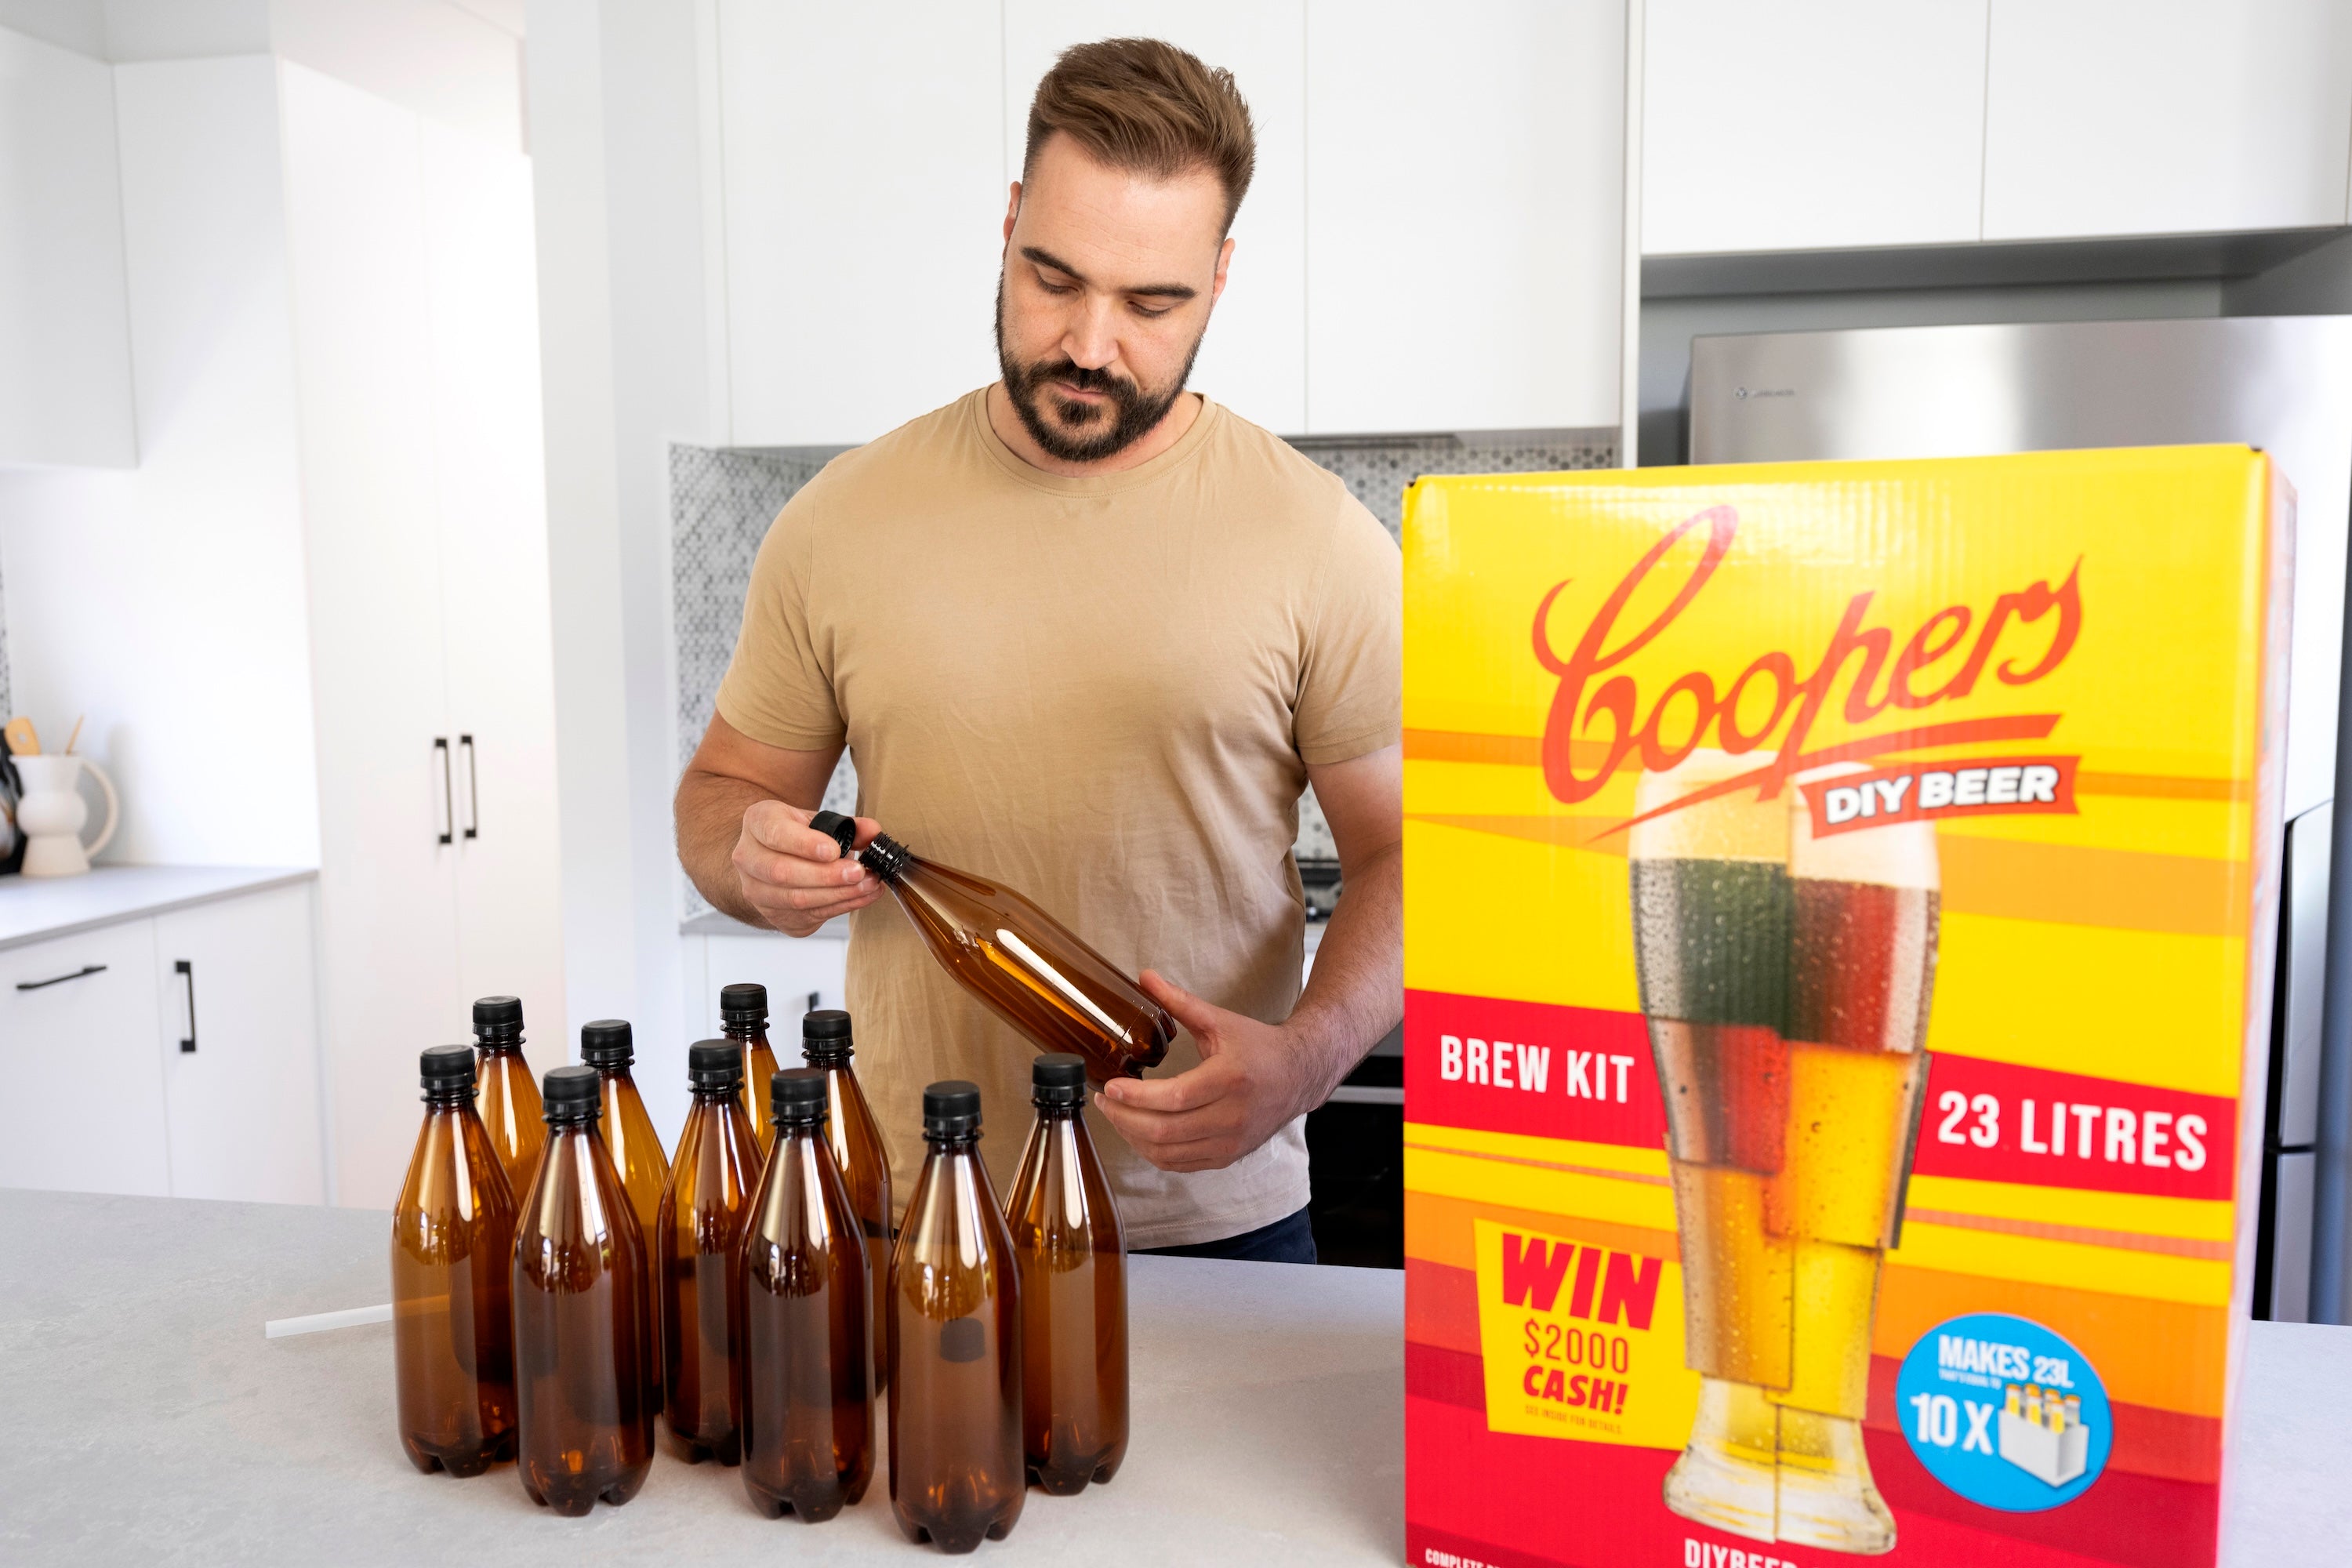
Step 3: Bottle
Before bottling for the first time, rinse bottles with warm water. Transfer your beer into the bottles using the bottling valve and add 2 carbonation drops (the priming sugar) per 740ml bottle - then cap them up. Bottling takes around 20 minutes, and carbonation drops are what carbonates your beer in the bottle.

Step 4: Enjoy
Leave your bottles somewhere dark and where the temp is around 18°Cfor about two weeks to condition, then chill, pour and enjoy. That first glass of beer you brewed yourself is a great moment - and now you’re set up to do it again.
YOUR PRE-BREW WATCH LIST
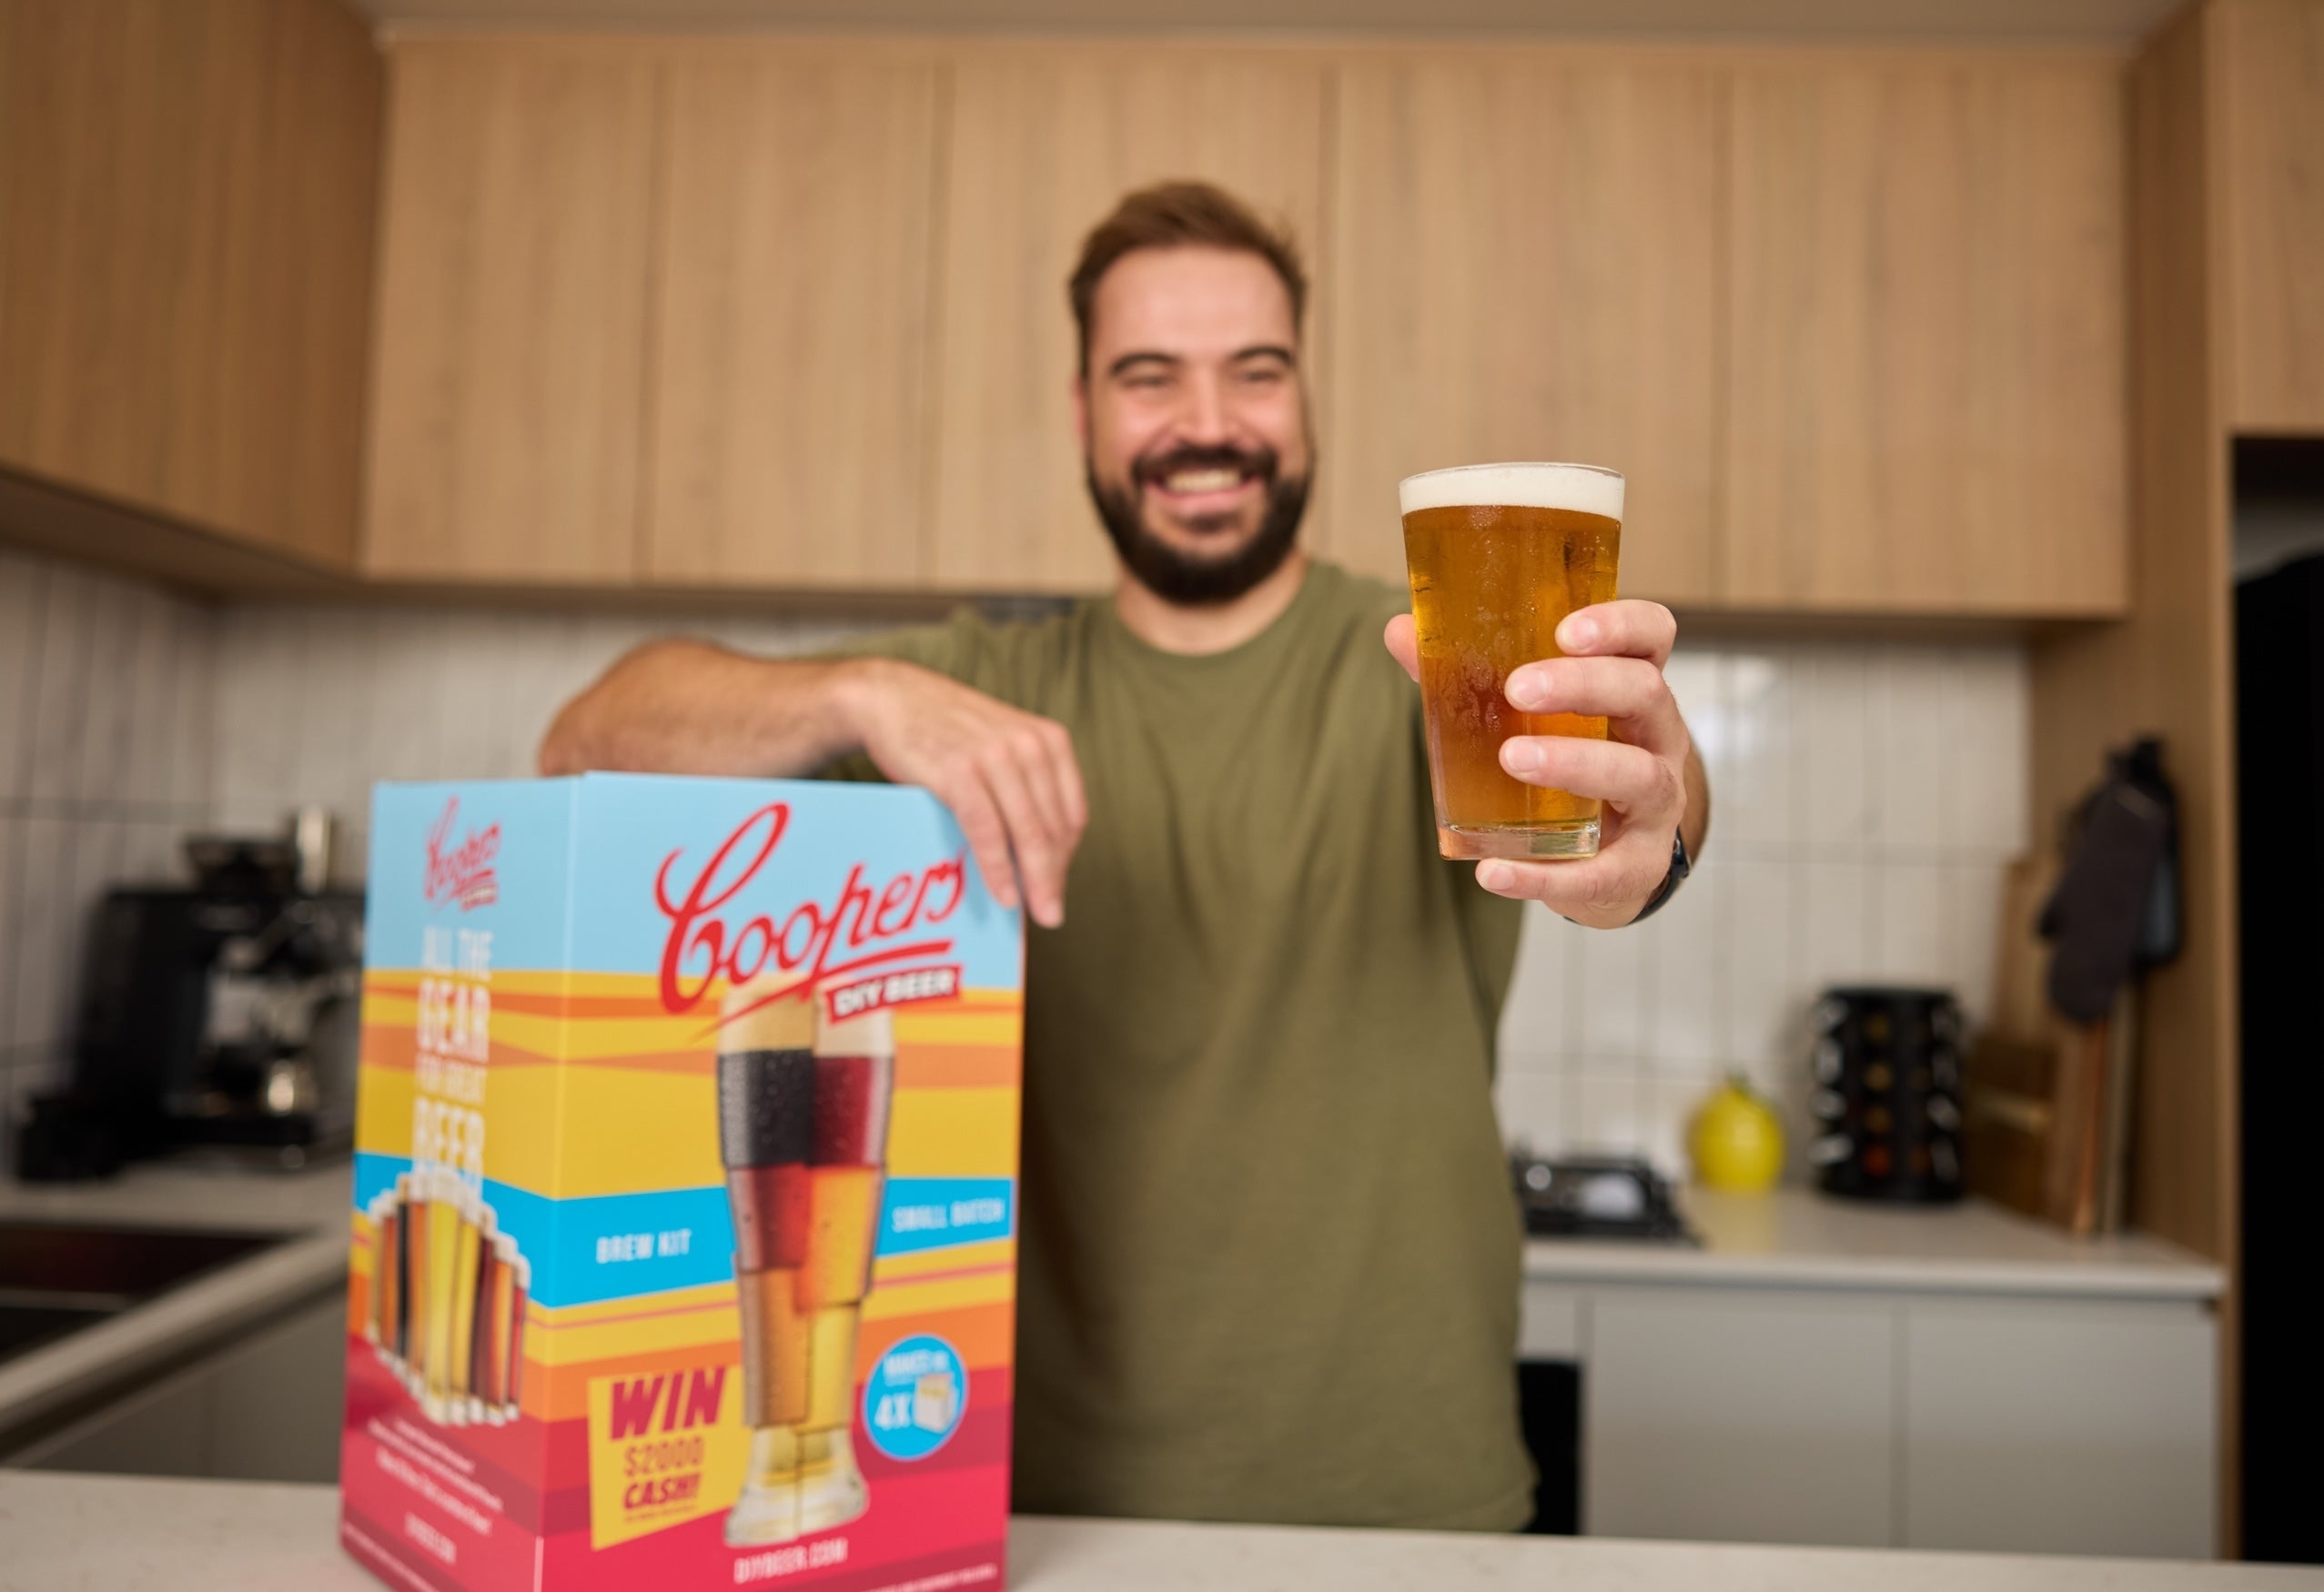
Don’t Have a Kit Yet?
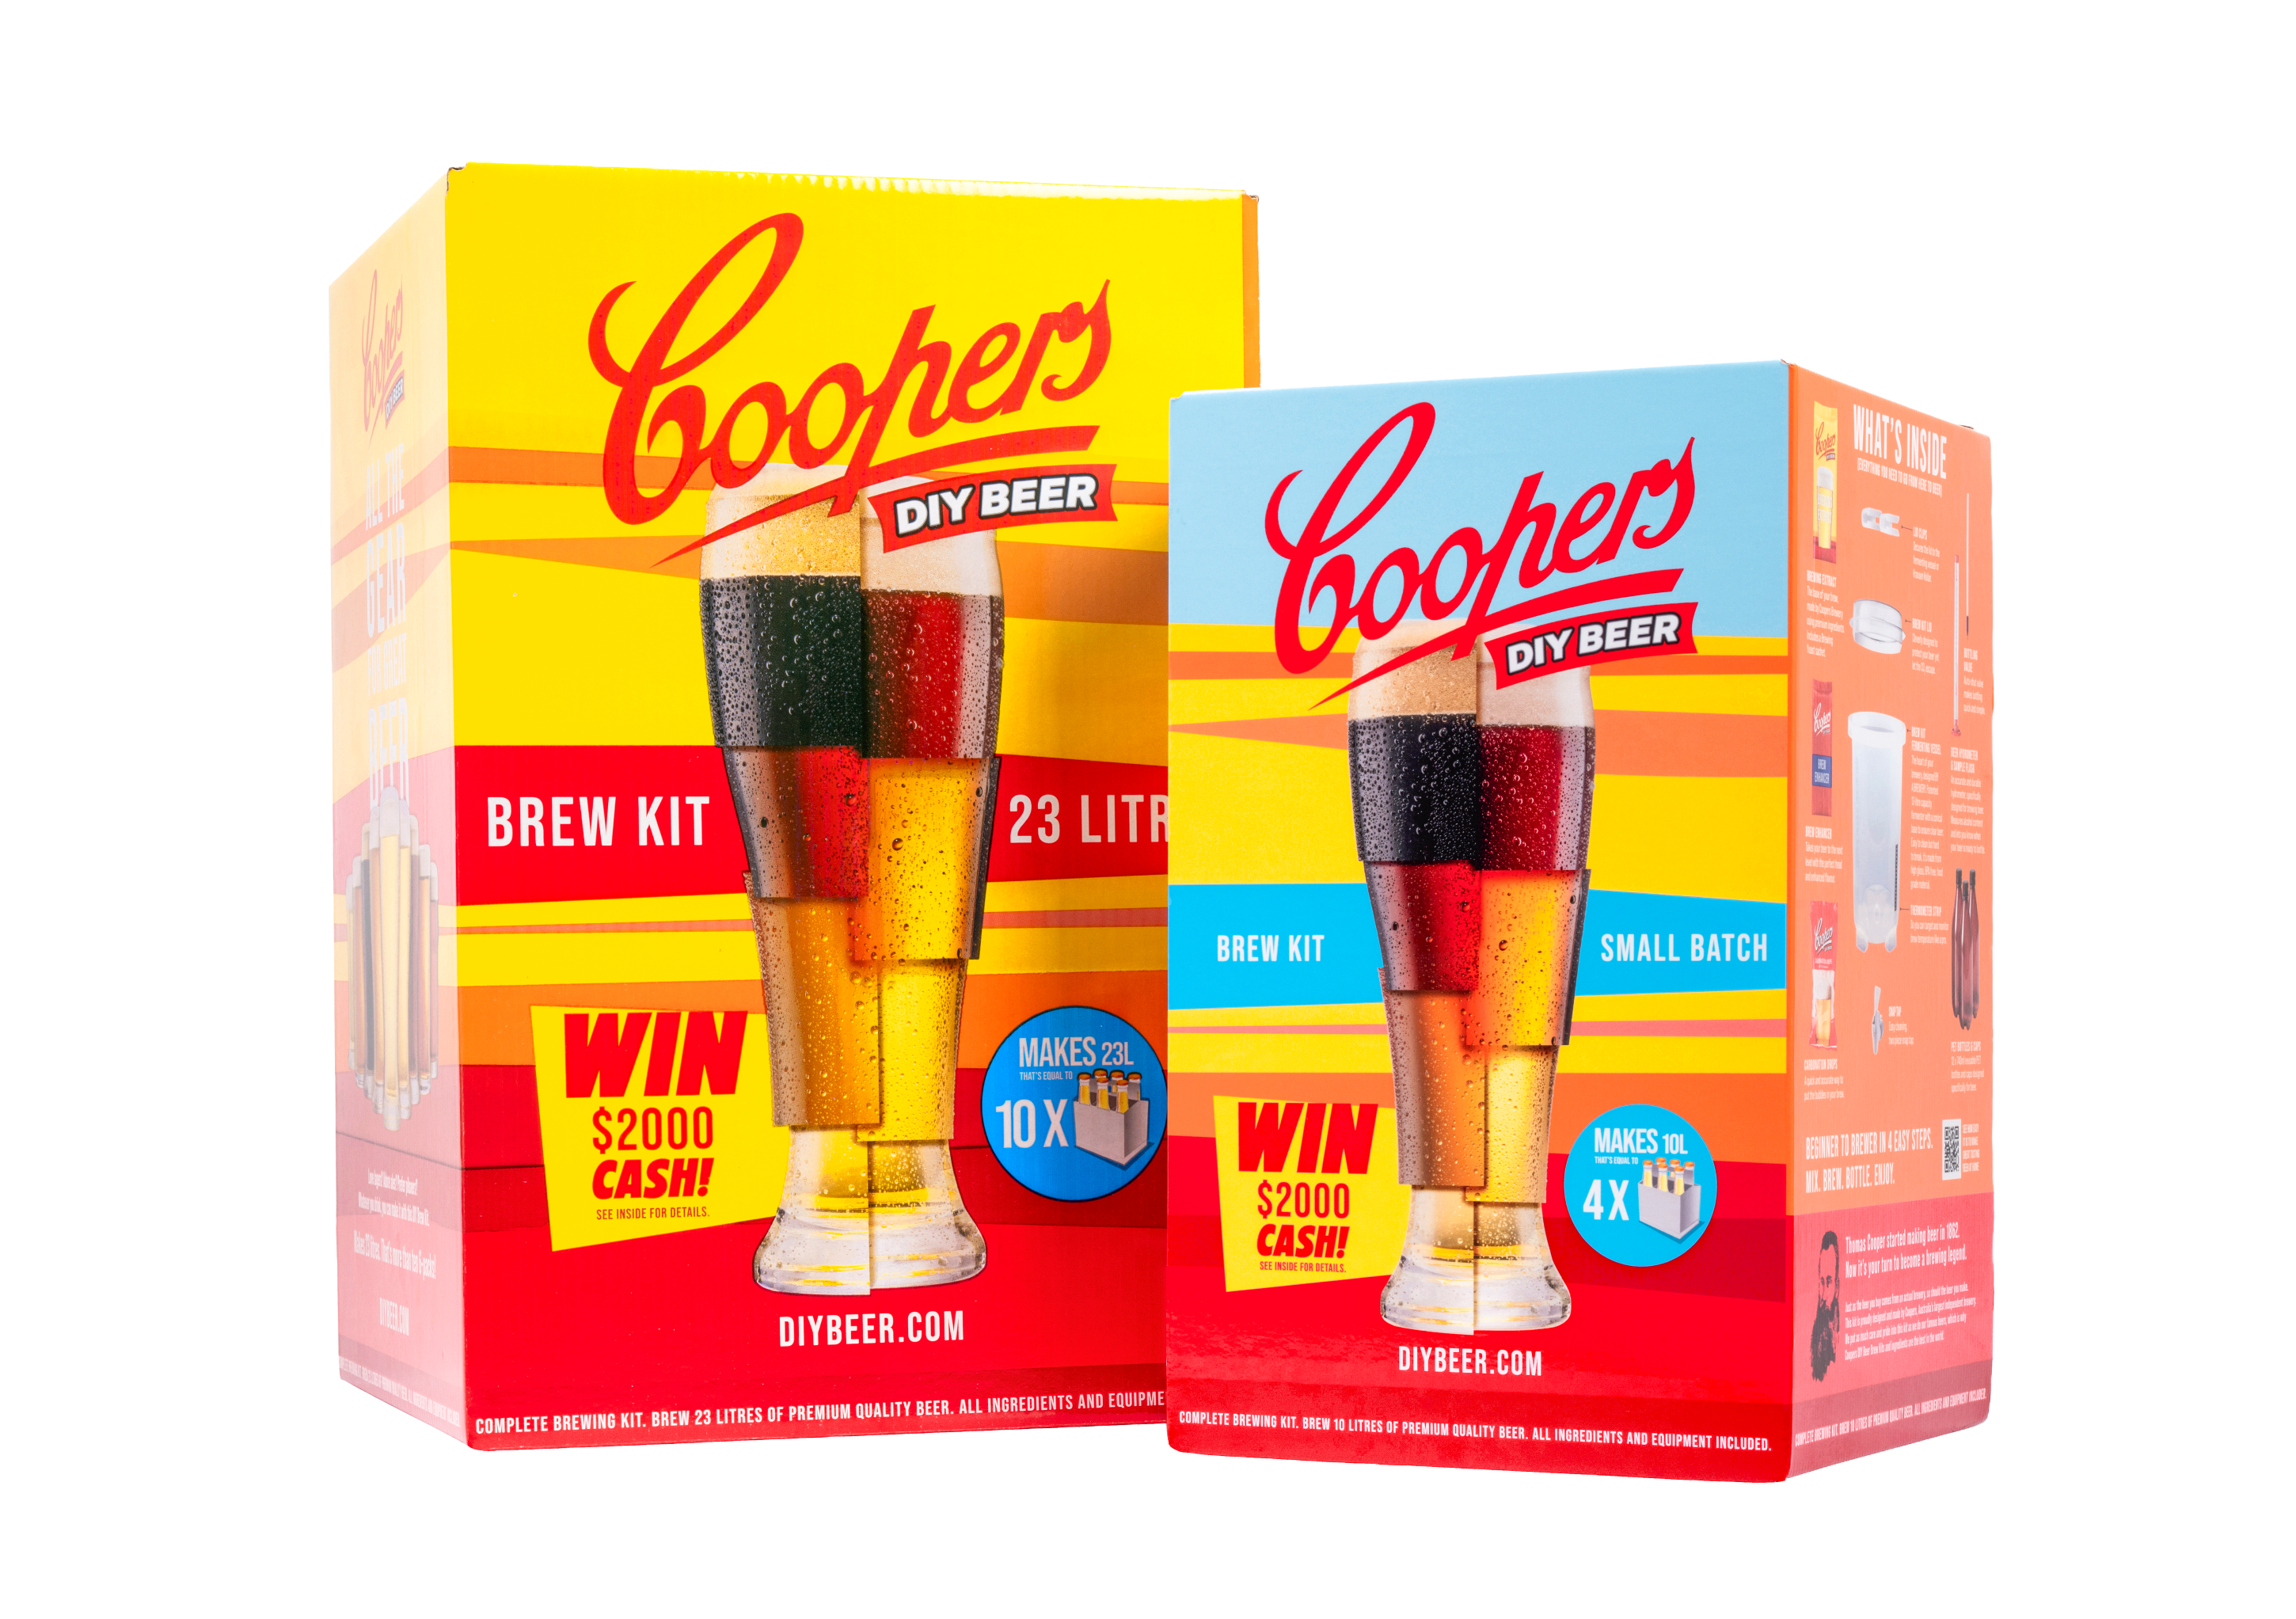
We’ve got you covered. If you’re just starting out - or just curious about how to brew beer - a small-batch brew kit is the perfect way to start. It’s great for first-timers and smaller spaces, brewing about a carton of beer (around 12 bottles) from a compact 10L vessel that fits on a kitchen or laundry bench.
Everything you need comes in the one box and when you’re ready to tackle bigger batches, a larger 23L kit brews around 30 bottles at a time.
Shop Brew Kits
Join the Coopers Community
You’re not brewing alone. The Coopers community is full of brewers - from first-timers to old hands - sharing recipes, tips and the odd hard-won lesson. It’s the best place to ask questions, swap ideas, and pick up tricks you won’t find on a label or on an instruction booklet.
FAQs
How long until I can drink my beer?
Around three to four weeks from start to first pour - roughly a week to ferment, then about two weeks conditioning in the bottle. Your hands-on time is only about 35 minutes across the whole process.
What’s the most important thing to get right?
Sanitisation. Cleaning and sanitising everything that touches your beer is the single biggest factor in a good batch. Get that right and you’re most of the way there.
How do I know when fermentation is finished?
Use your hydrometer. When it gives the same reading over two or three days running, fermentation is complete and your beer is ready to bottle.
What temperature should I ferment at?
Try to keep your brew at a stable range of between 21 and 27°C. The key is keeping it steady, so pick a spot that doesn’t swing hot and cold through the day.
Can I reuse the equipment?
Absolutely. The fermenter, hydrometer and bottles are all reusable - every brew after your first only needs a fresh extract, so it gets cheaper and quicker as you go.