






Strawberry Blonde
 Fruity
 Sweet
Sweet

Honey has been an ingredient of many great beers through history. Honey is highly fermentable and contributes subtly to the flavour of the brew. We suggest Strawberry Clover Honey for this recipe but any light flavoured honey may be used.
Beer Style: Ale
Volume: 23L
ABV: 4.6
Bitterness (IBU): 25
Colour (EBC): 6
Difficulty: Easy
ABV 4.6%

Alcohol by Volume
25 IBU
International Bitterness Units
EBC 6
Colour
Recipe Components

Crisp pale malt aromas with a hint of spicy hops, clean pale malt flavours and a light-bodied palate that finishes...
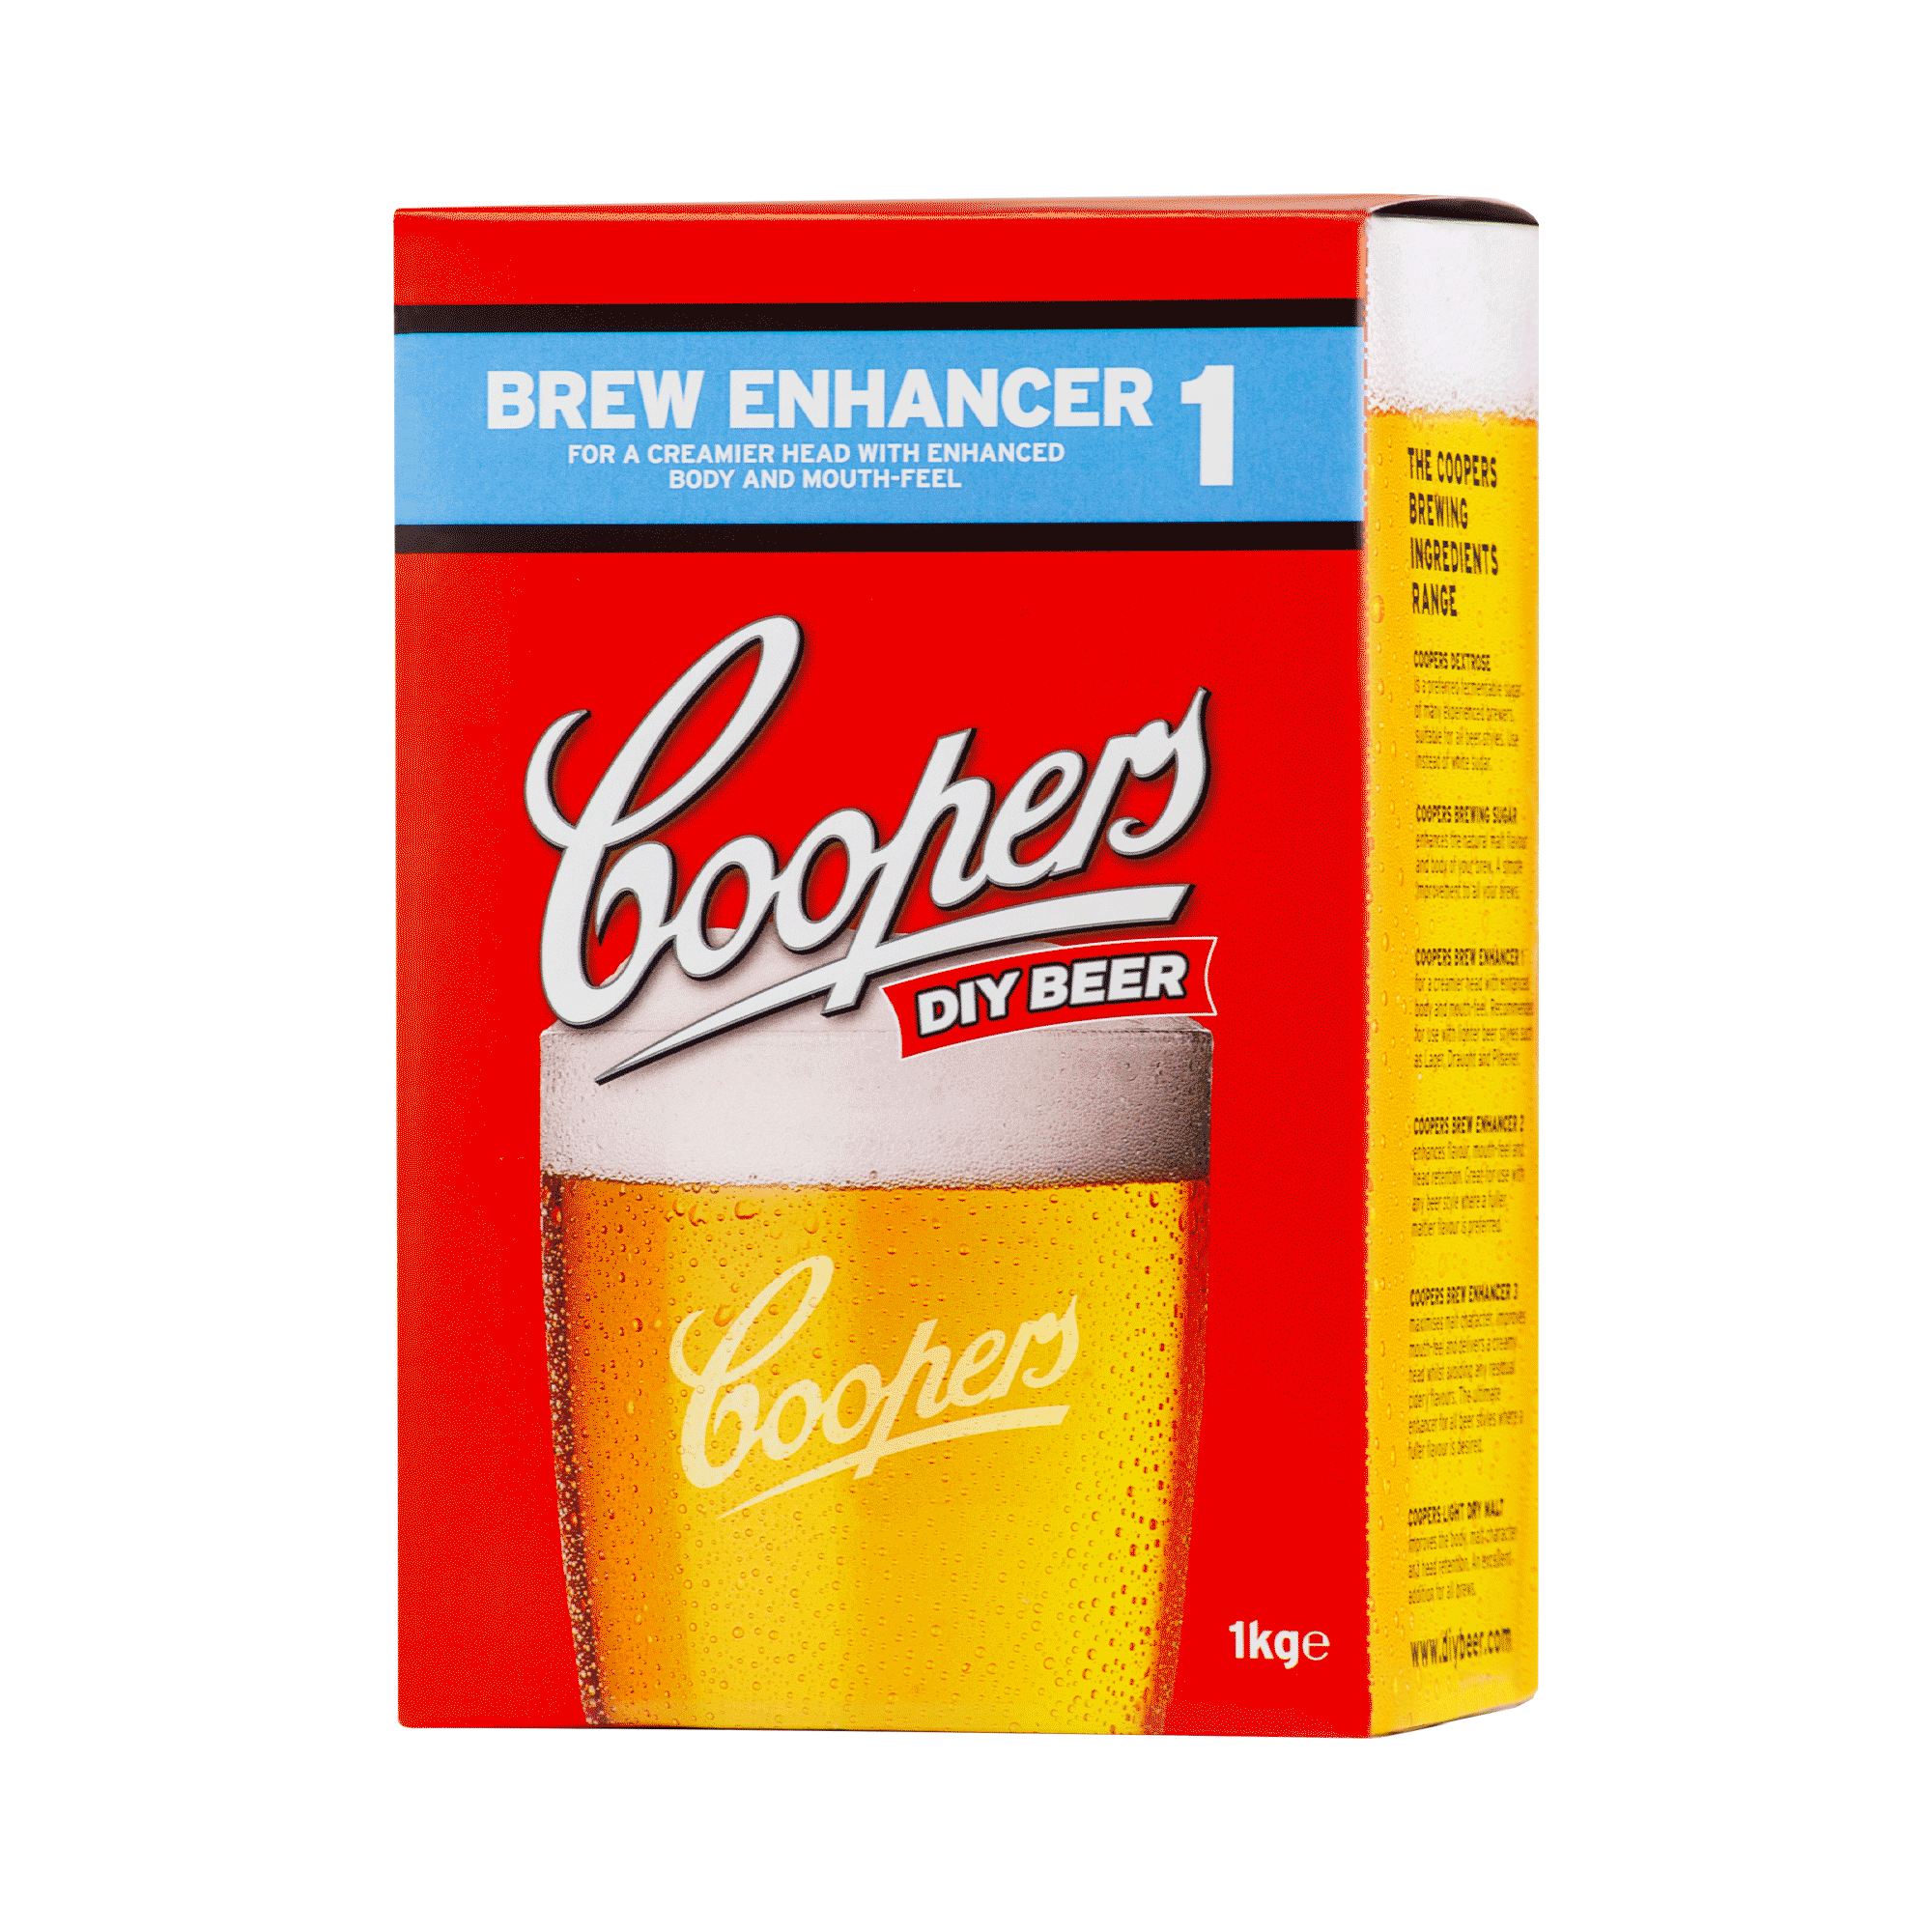
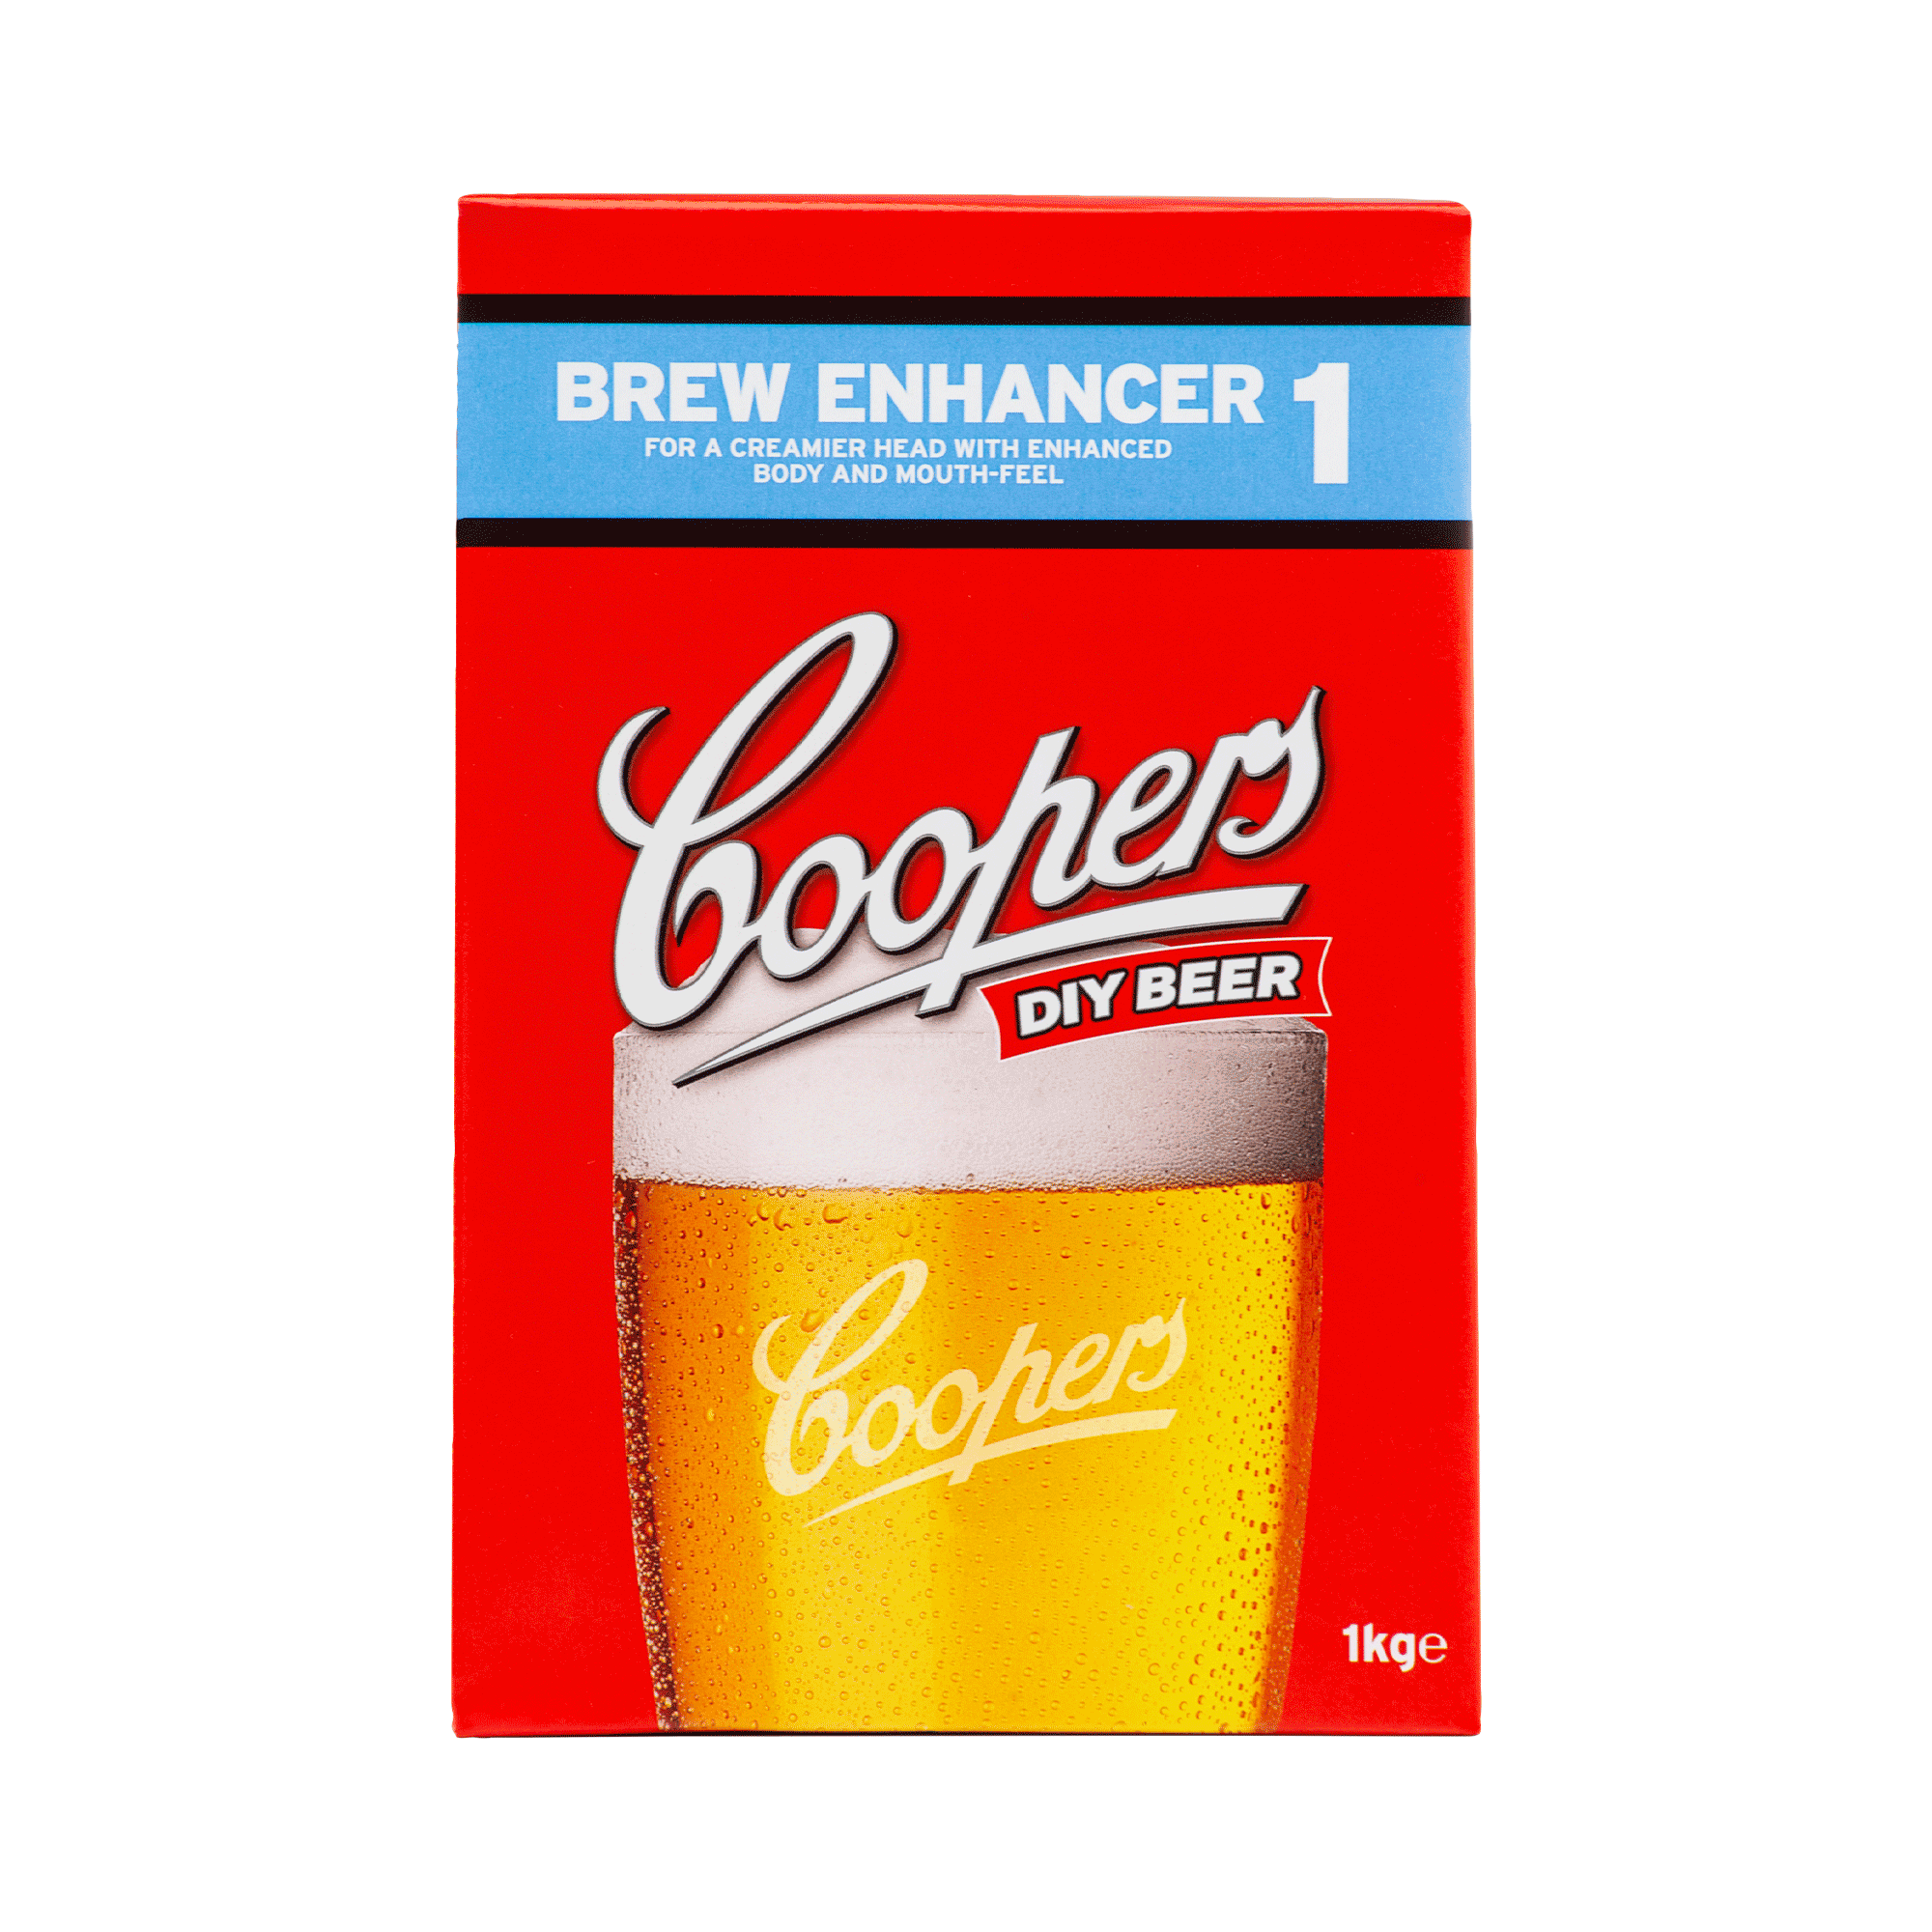
Coopers Brew Enhancer 1 contains dextrose and maltodextrin. The dextrose will ferment out completely with no residual cidery flavours whilst...
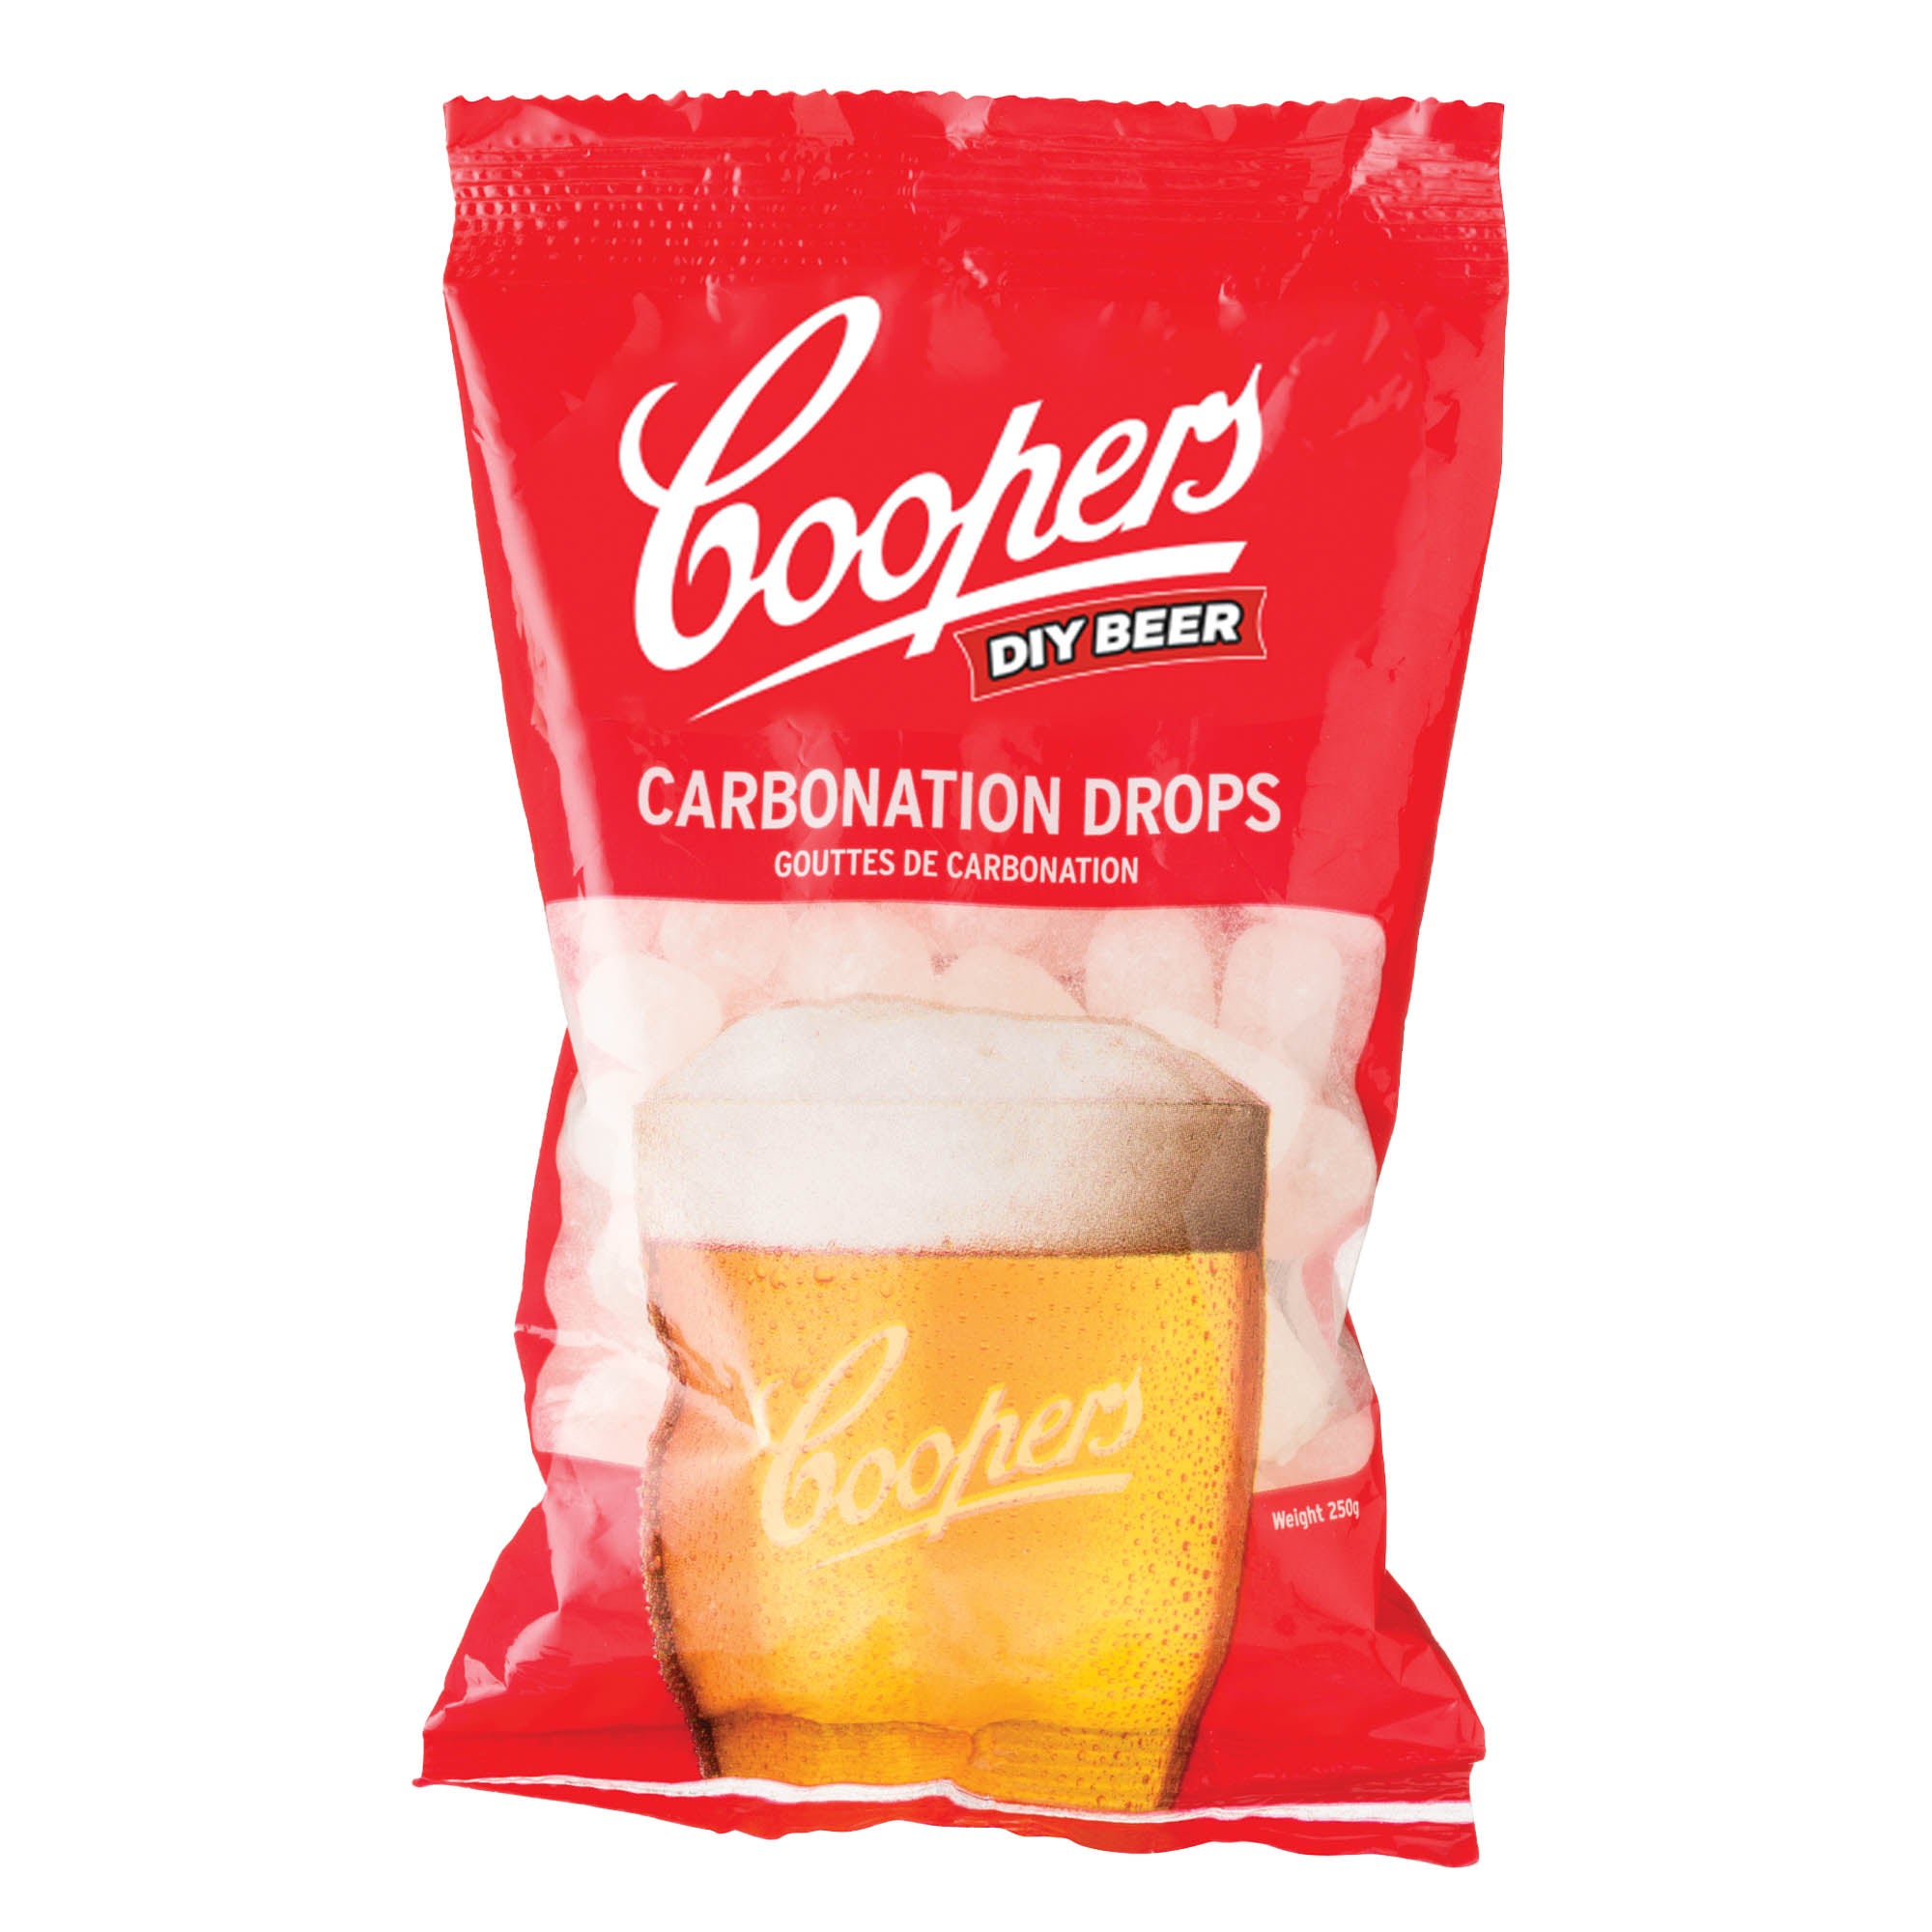
Coopers Carbonation Drops are a convenient, no mess, no fuss alternative to priming sugar.
The dosage required is 1 drop...
This Recipe
Print Recipe




Home Recipes STRAWBERRY BLONDE
Strawberry Blonde
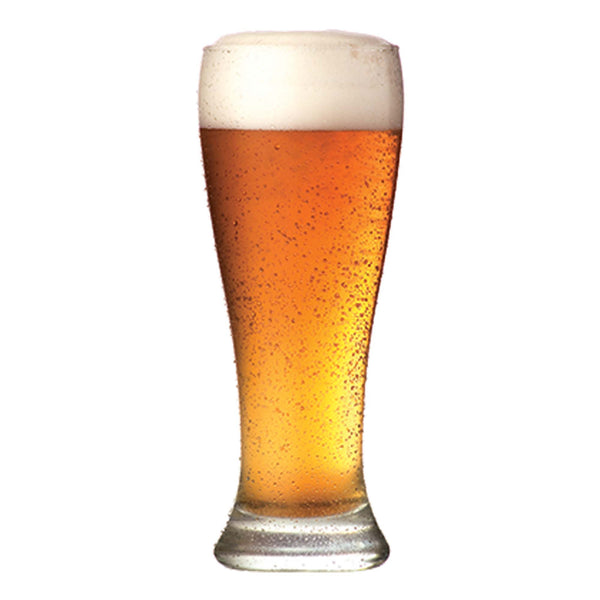
Honey has been an ingredient of many great beers through history. Honey is highly fermentable and contributes subtly to the flavour of the brew. We suggest Strawberry Clover Honey for this recipe but any light flavoured honey may be used.
| Beer Style | Ale |
| Flavour Profile | Fruity, Sweet |
| Alcohol Content | 4.6% |
| Colour (EBC) | 6 |
| Bitterness (IBU) | 25 |
| Volume | 23L |
| Difficulty | Easy |
Ingredients
1. Mix
2. Brew
3. Bottle
4. Enjoy
You May Also Like
 Fruity
 Spicy
SpicyHoney can be a welcome addition in Wheat Beer and it carries some favour with the Australian Craft Beer industry....
 Fruity
Adding berries to beer is a traditional brewing method, dating back centuries. Your favourite berries in the supermarket frozen section,...
 FruitySpicy
 Clove
CloveIf it weren't for the 'lemon twist', this recipe might nearly fit into the Weissbier style 15A of the BJCP...
 MaltyFruityClove
This delightful Weissbier displays alluring deep golden hues and carries a little extra flavour than typical commercial versions, whilst still...
Common Questions
- Easy: Basic brewing, but beautiful beers! Brewing Extract + Fermentable; requires only a can opener, scissors, spoon and water. Or for a little more, an extra ingredient commonly found in the pantry.
- Intermediate: Simple additions to enhance your brews! Introducing hops, herbs and flavourings which are added during or at end of ferment.
- Advanced: For adventurous brewers adding grains and hops will elevate your brews! Grain and hop ingredients typically involve proper handling techniques and extra equipment, prior to mixing.
- Expert: Brew the ultimate DIY Beer! Make up a yeast culture, source your grains or roast your malt – good things take time so you’ll need to be prepared before brew day.
We recommend cracking your malt/grain on brew day or as required. Our simple, no-mess method requires only a zip-lock plastic bag and a rolling pin. Place the malt/grains in the zip-lock bag and seal, lay the bag flat on a bench top (spreading evenly within the bag) and run a rolling pin over the bag. For best results, do not over fill the bag. As such, it may take a few fills of the bag to crack all the malt/grain.
Most brewers find it easier to keep warm (with insulation) rather than cooling their brew because the brew generates heat as it ferments.
Non-electrical temperature control Wrap the fermenting tub in a 0ºC-5ºC rated sleeping bag , blankets or an old jacket. Place the fermenter in a large esky, insulated box, non-working fridge or freezer. Sit the fermenting tub in a laundry tub with frozen PET bottles. Place the fermenter in a cellar or on a cool bare concrete floor. Partially roll a towel and place in the lid of the fermenter, fill the well of the lid with cold water and drape the towel over the side of the fermenter allowing the water to wick down the towel.
Electrical temperature control Heat pad or heat belt. Tea chest, box, cupboard, old fridge etc. with a 25W-40W incandescent lamp controlled by a thermostat, dimmer switch or timer switch. Place in an air-conditioned room. Place in a working fridge or freezer with modified thermostat. Place near an inside storage hot water system. Wet towel method with an electric fan blowing over it.
Signs of fermentation are:
- Foaming
- Cloudiness in the brew
- Obvious convection within the brew.
- A sample drawn from the tap is fizzy
- The density has dropped to less than the OG.
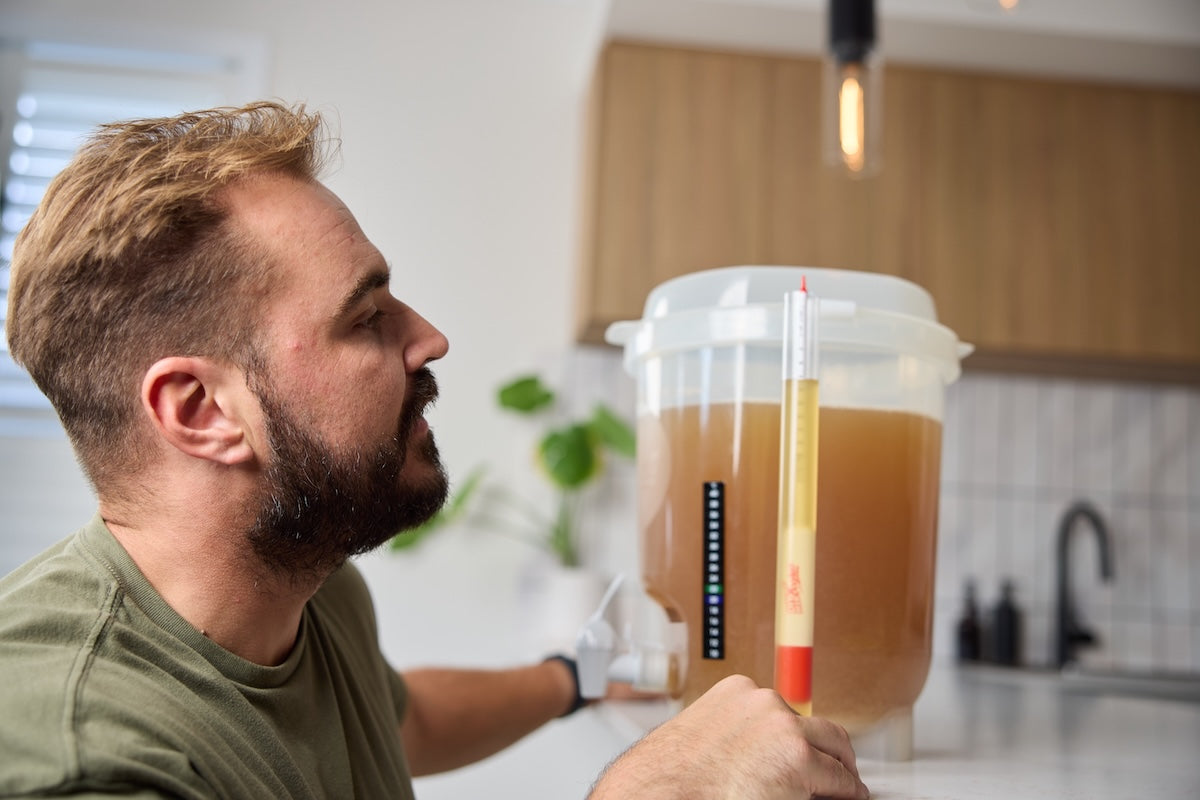
The hydrometer is a calibrated instrument used to determine the Specific Gravity (SG) of the brew. SG is the density of a liquid relative to the density of water. With the hydrometer floating, the SG is read at the point where the graduated scale cuts the surface of the liquid in the sample flask (meniscus).
To get an accurate reading you may need to 'de-gas' your sample. To do this, pass the sample from one glass to another and back again four to five times, then return the sample to the flask. Ensure that enough beer is in the flask to allow the hydrometer to float freely and the surface is relatively free of foam. To dislodge bubbles clinging to the Coopers DIY Beer plastic hydrometer, tap the floating hydrometer downward so that it bumps on the base of the measuring tube. DO NOT attempt this with a glass hydrometer (read the below FAQ for more on glass hydrometers).
Please note that FG may vary from brew to brew. So it’s important to ensure that the FG is stable over two days prior to bottling.
For more information, click to watch our how-to-video on Hydrometer Use.
Tag #CoopersDIYBeer to be featured